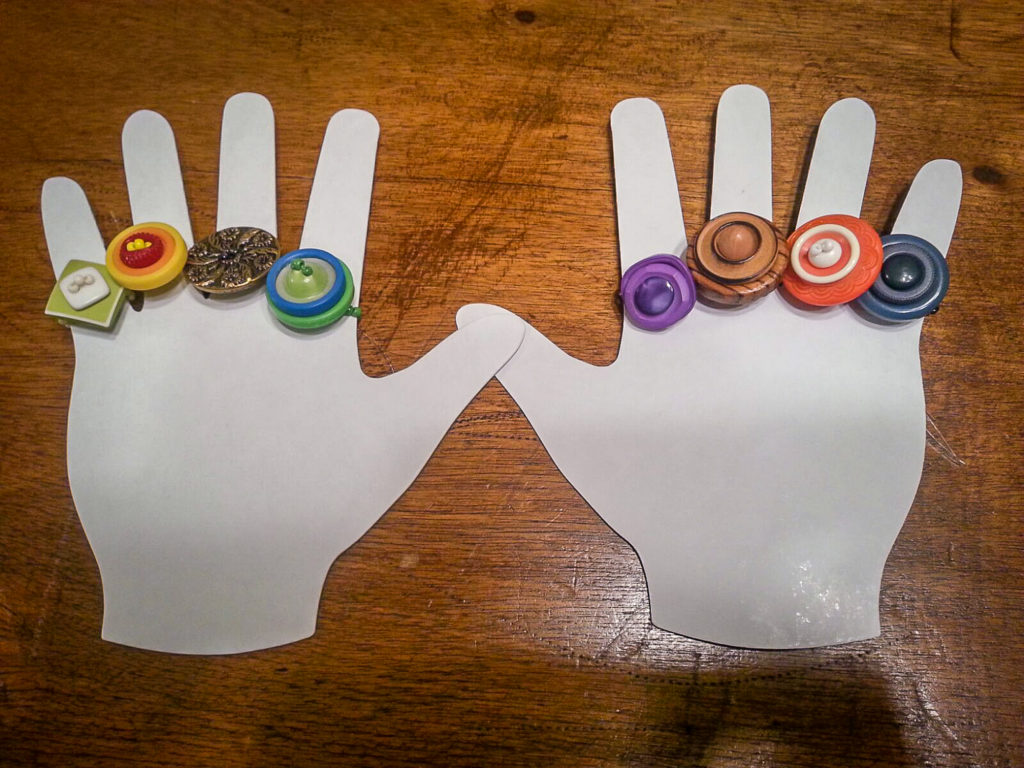
What is more fun for a woman or girl than to have a fun accessory to perk up a spring or summer outfit? Well, that’s what we’ll show you how to do in this week’s blog. Combining my interest in buttons and color, we’re going to make a ring or two and show several possibilities.
What You’ll Need:
-

Grab your supplies Decorative buttons (1-4 that combine well together and that match some of your clothes).
- Clear plastic cord (0.8 mm, Hobby Lobby, JoAnn, or Michaels).
- Tape measure
- Seed beads (color to match back button or only button).
- E 6000 glue (to seal knot of plastic cord).
- Small binder clip (to hold beads on end when stringing).
- Toothpick
- Glass beaded pin
Step 1

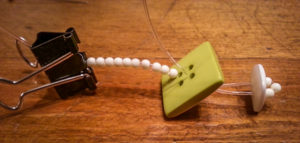
Cut a 7” / 18cm length of the elastic cord and attach a small binder clip on one end.
Step 2
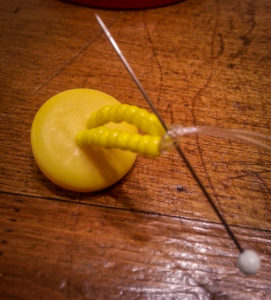
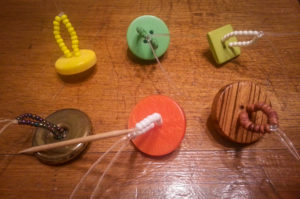
String 10-12 seed beads (depending on size of beads and size of finger). Enter from back of sew-through button, going through the second and/or third button. If top button is a sew-through, add a few seed beads between the two holes and return the elastic cord down through the other sides of the buttons. Then add 10 to 13 more seed beads.

Step 3
Bring both ends together, pull gently to “tighten” down the ring, and tie elastic cord together with an overhand knot.
Step 4

At this point, try the ring on to make any size adjustment necessary (add or remove beads equally from both sides).
Step 5
Use the glass beaded pin to “slide” the knot tight against the beads.
Step 6
Using the toothpick, put a drop of the glue on the knot and let dry.

Step 7
Trim ends to 1/16” / 1 mm.
Step 8
Your ring is finished and ready to wear and enjoy. Once you’ve made one, you may want to make more – maybe one to match each of your summer outfits! Have fun!

Show Us What You Made
We would love to see what you put together. Send us a picture and we will select three of our favorites and feature them on our Instagram page. Be sure to follow us (@FGGDesigns) so you can see if you’ve been selected!
