
This month I decided to do something slightly different.
Instead of my ring making, I have decided to show you all what we use as a backdrop for most of our items. A decorative wooden placemat.
This is a pretty simple task, and you only need a few basic tools.
What You’ll Need
- Wood (I used pallet wood)
- Hand saw or chop saw
- Tape measure
- Pencil
- Sander or sandpaper. (80 grit + 220 Grit)
- Wood glue
- Wood clamps
- Stain
- Staining Brush
If you don’t have these items, your local hardware store has all of them. You don’t need the most expensive items; just purchase what fits your budget.
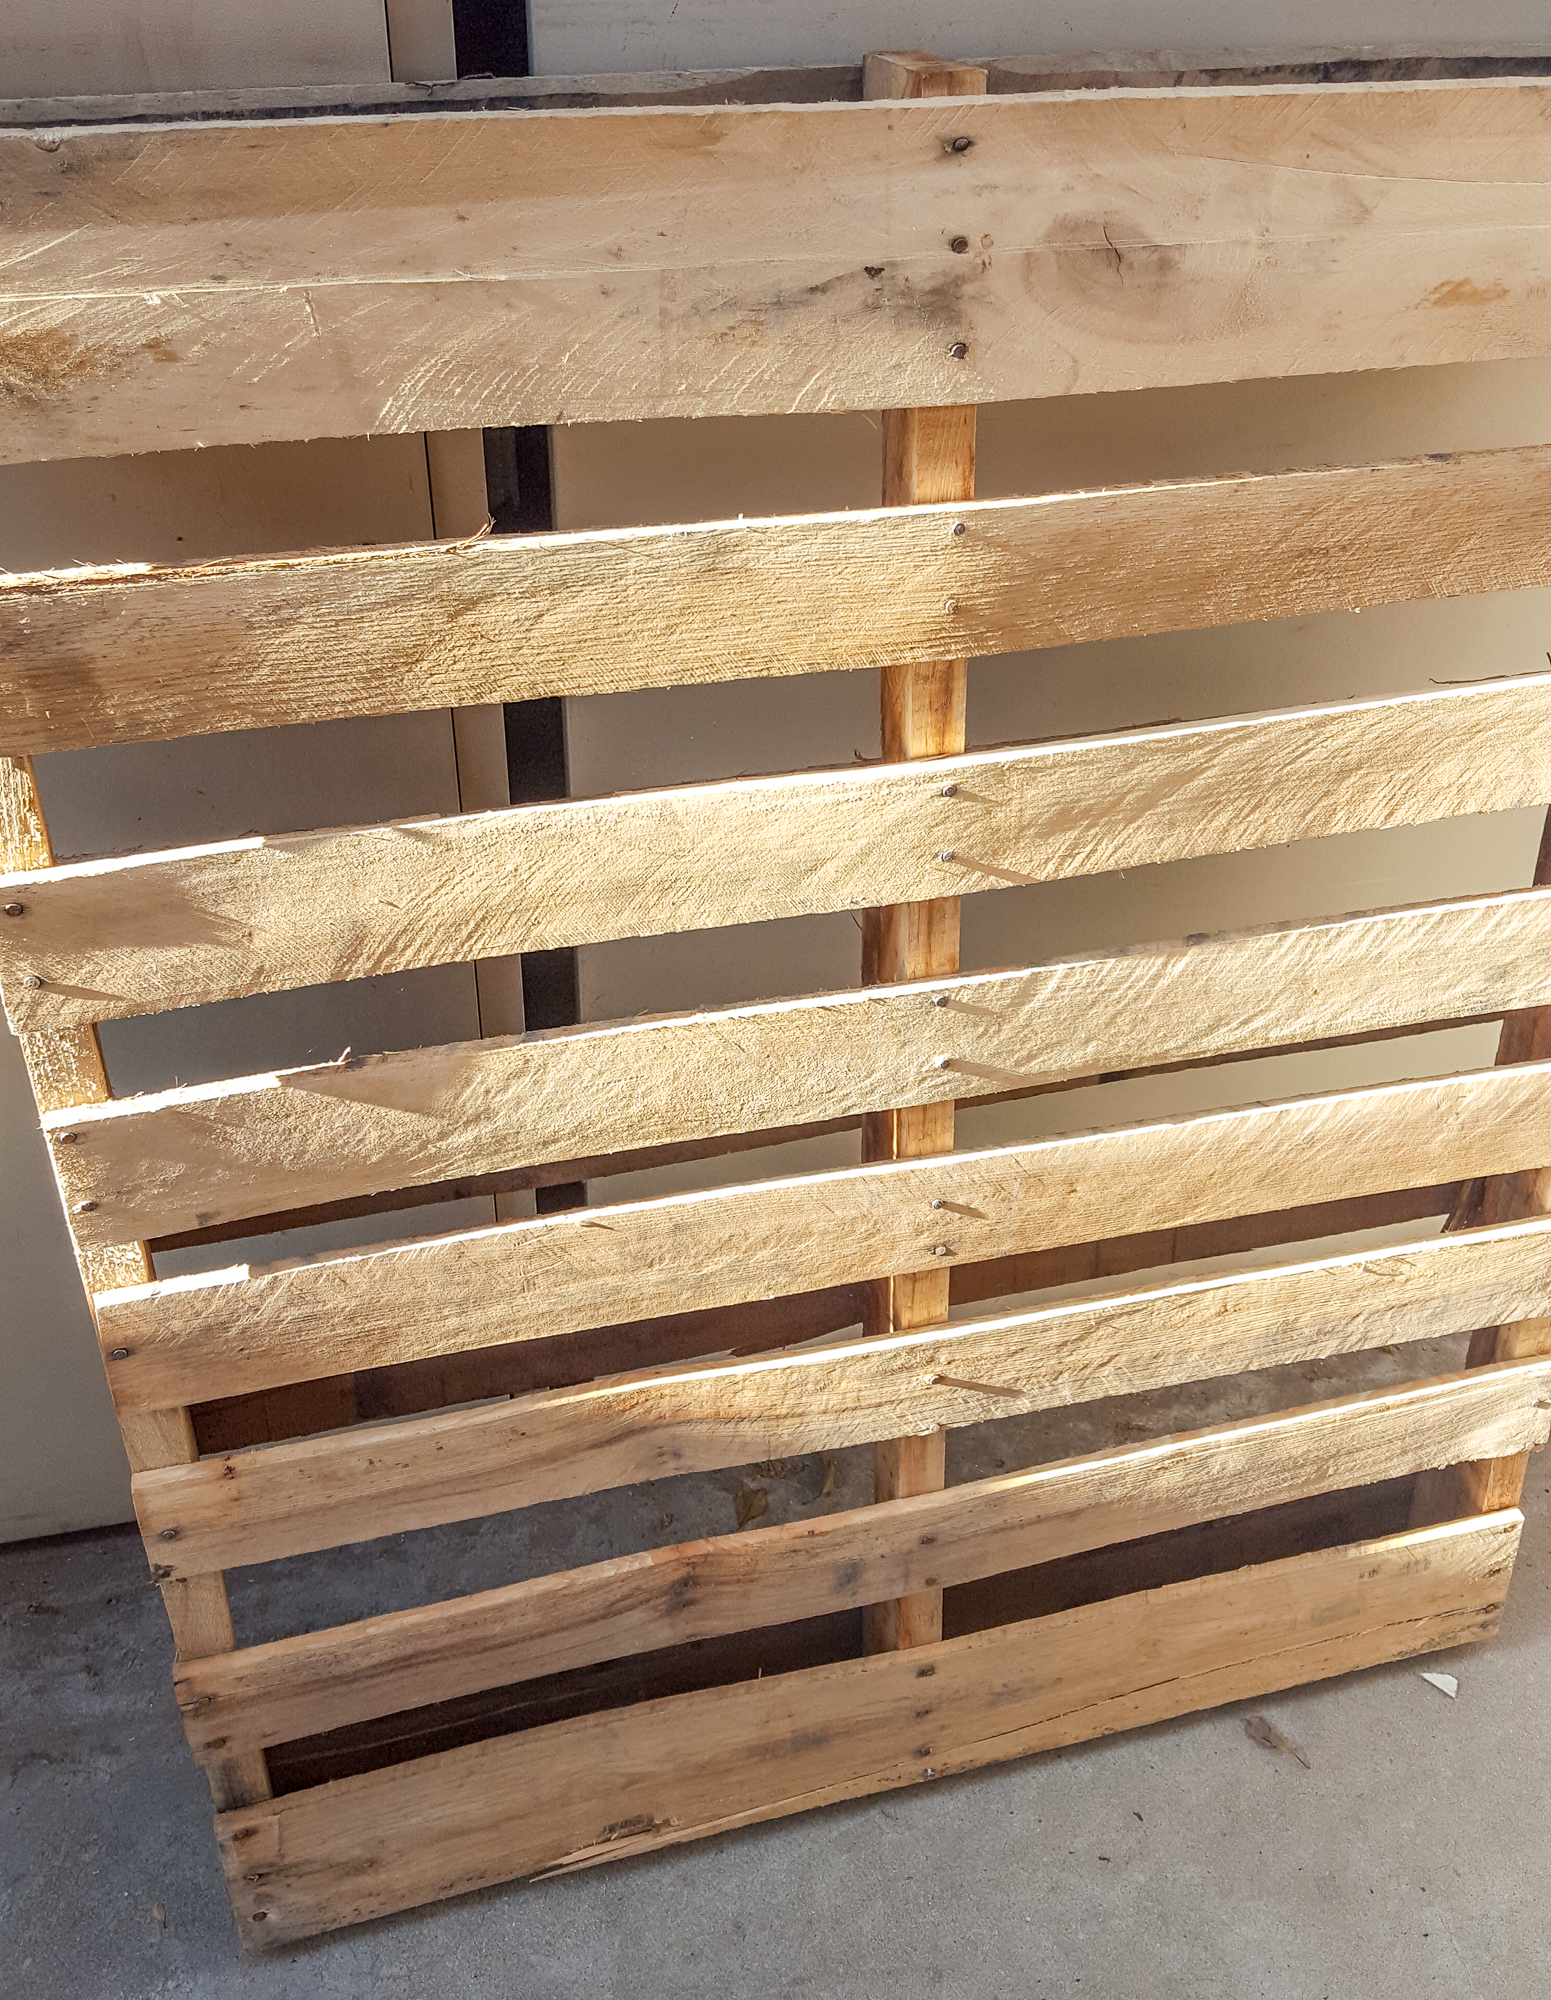
Step 1Find yourself a pallet that’s not too beat up, but not perfect either. Pick whatever you think you would like. |
|
Step 2Take one slat off of the pallet. | |
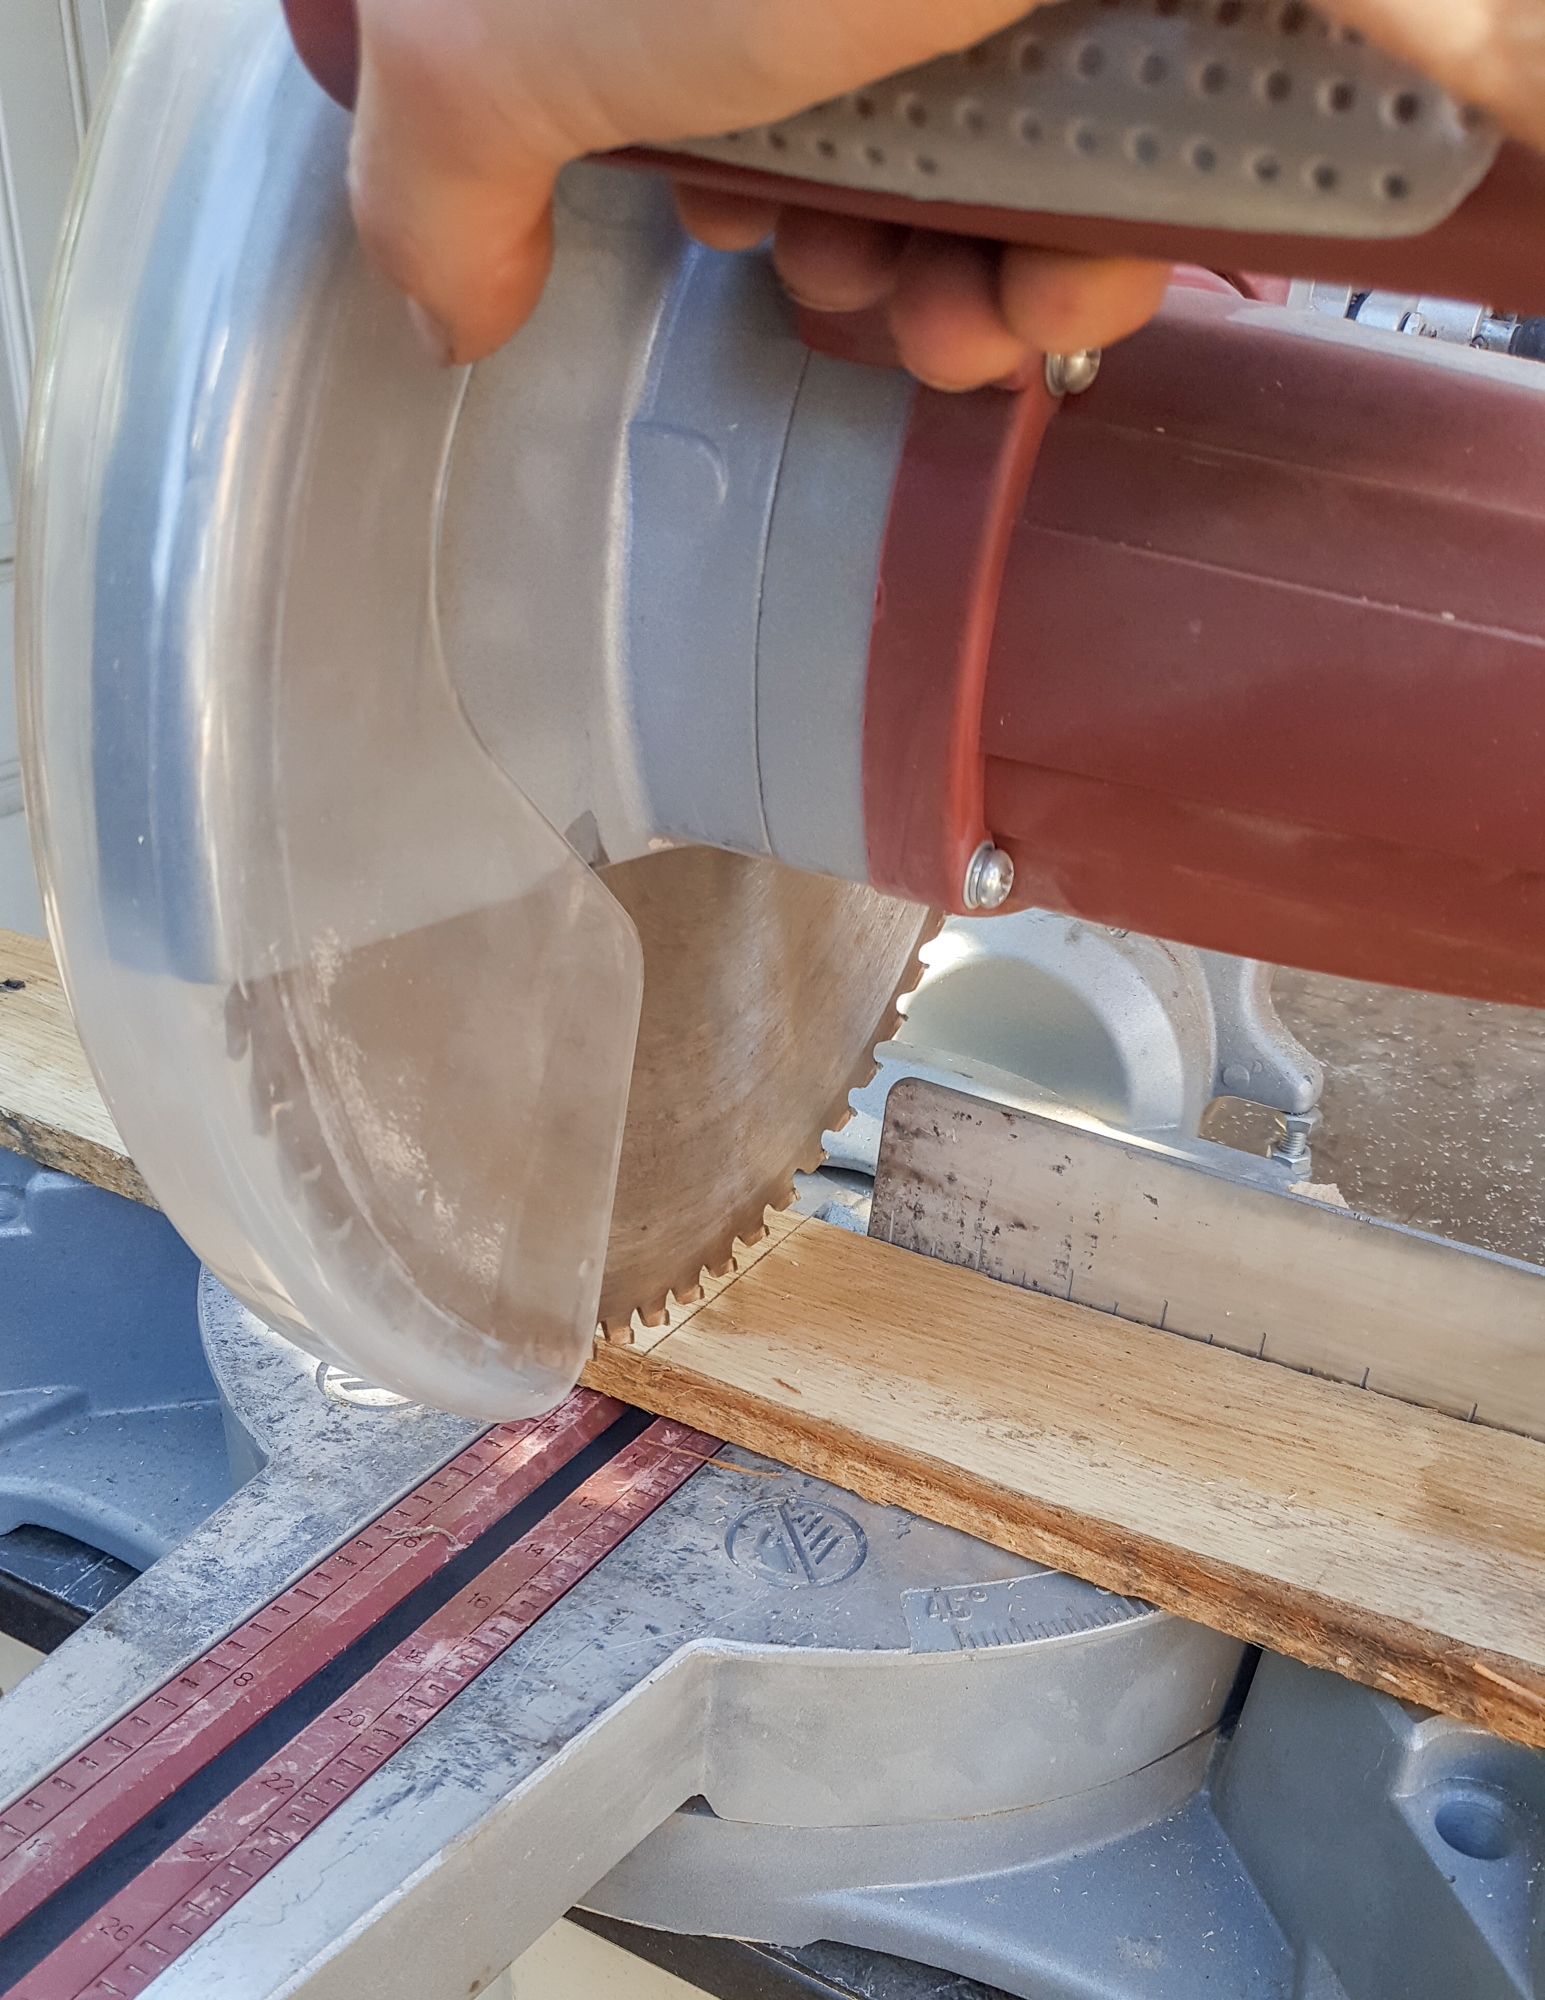
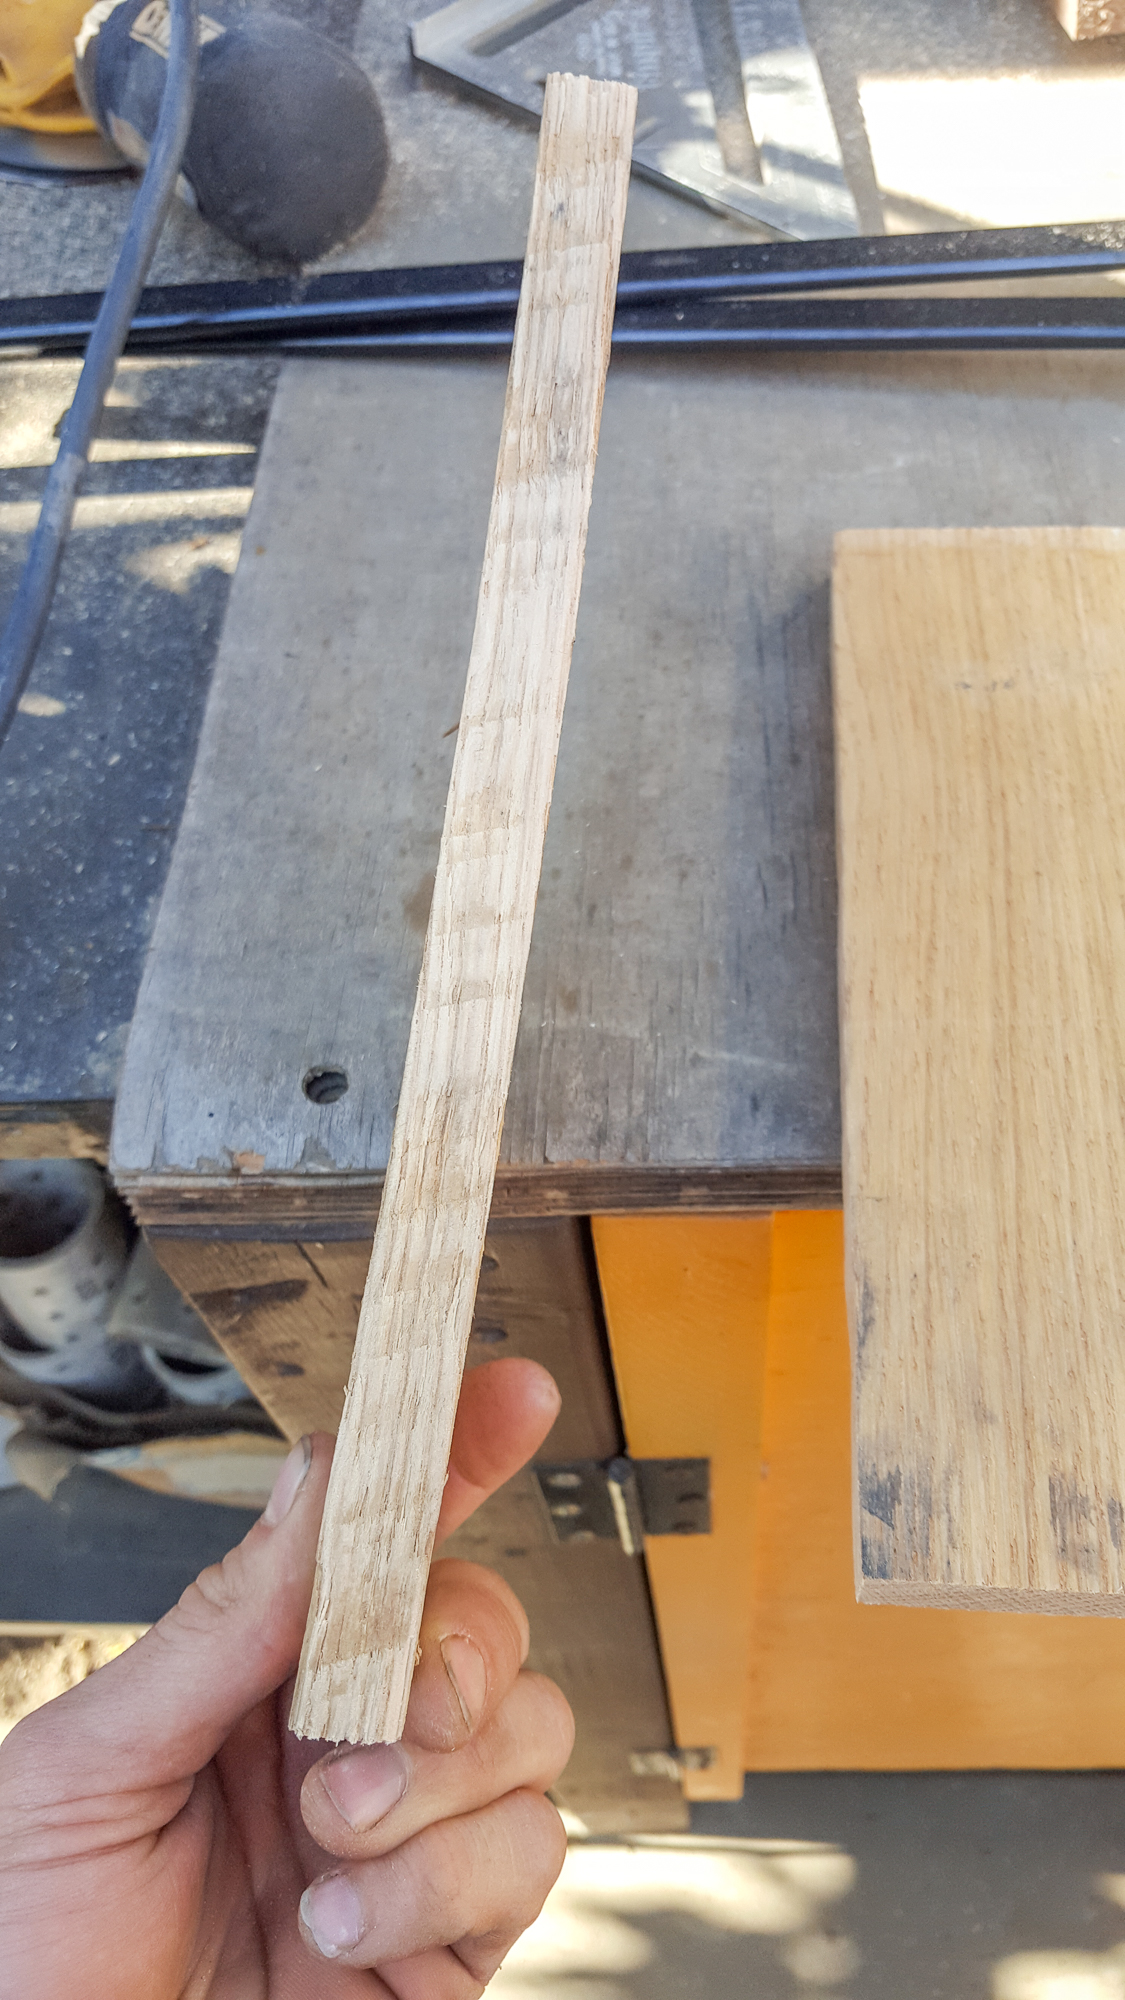
Step 3Cut the pallet into 9 ½ inch pieces. Or any other size that you might like. |
|
Step 4After you cut them, sand the one side that you’re going to glue together. It doesn’t have to be perfectly smooth but just smoothed out so the glue can adhere nicely. |
|
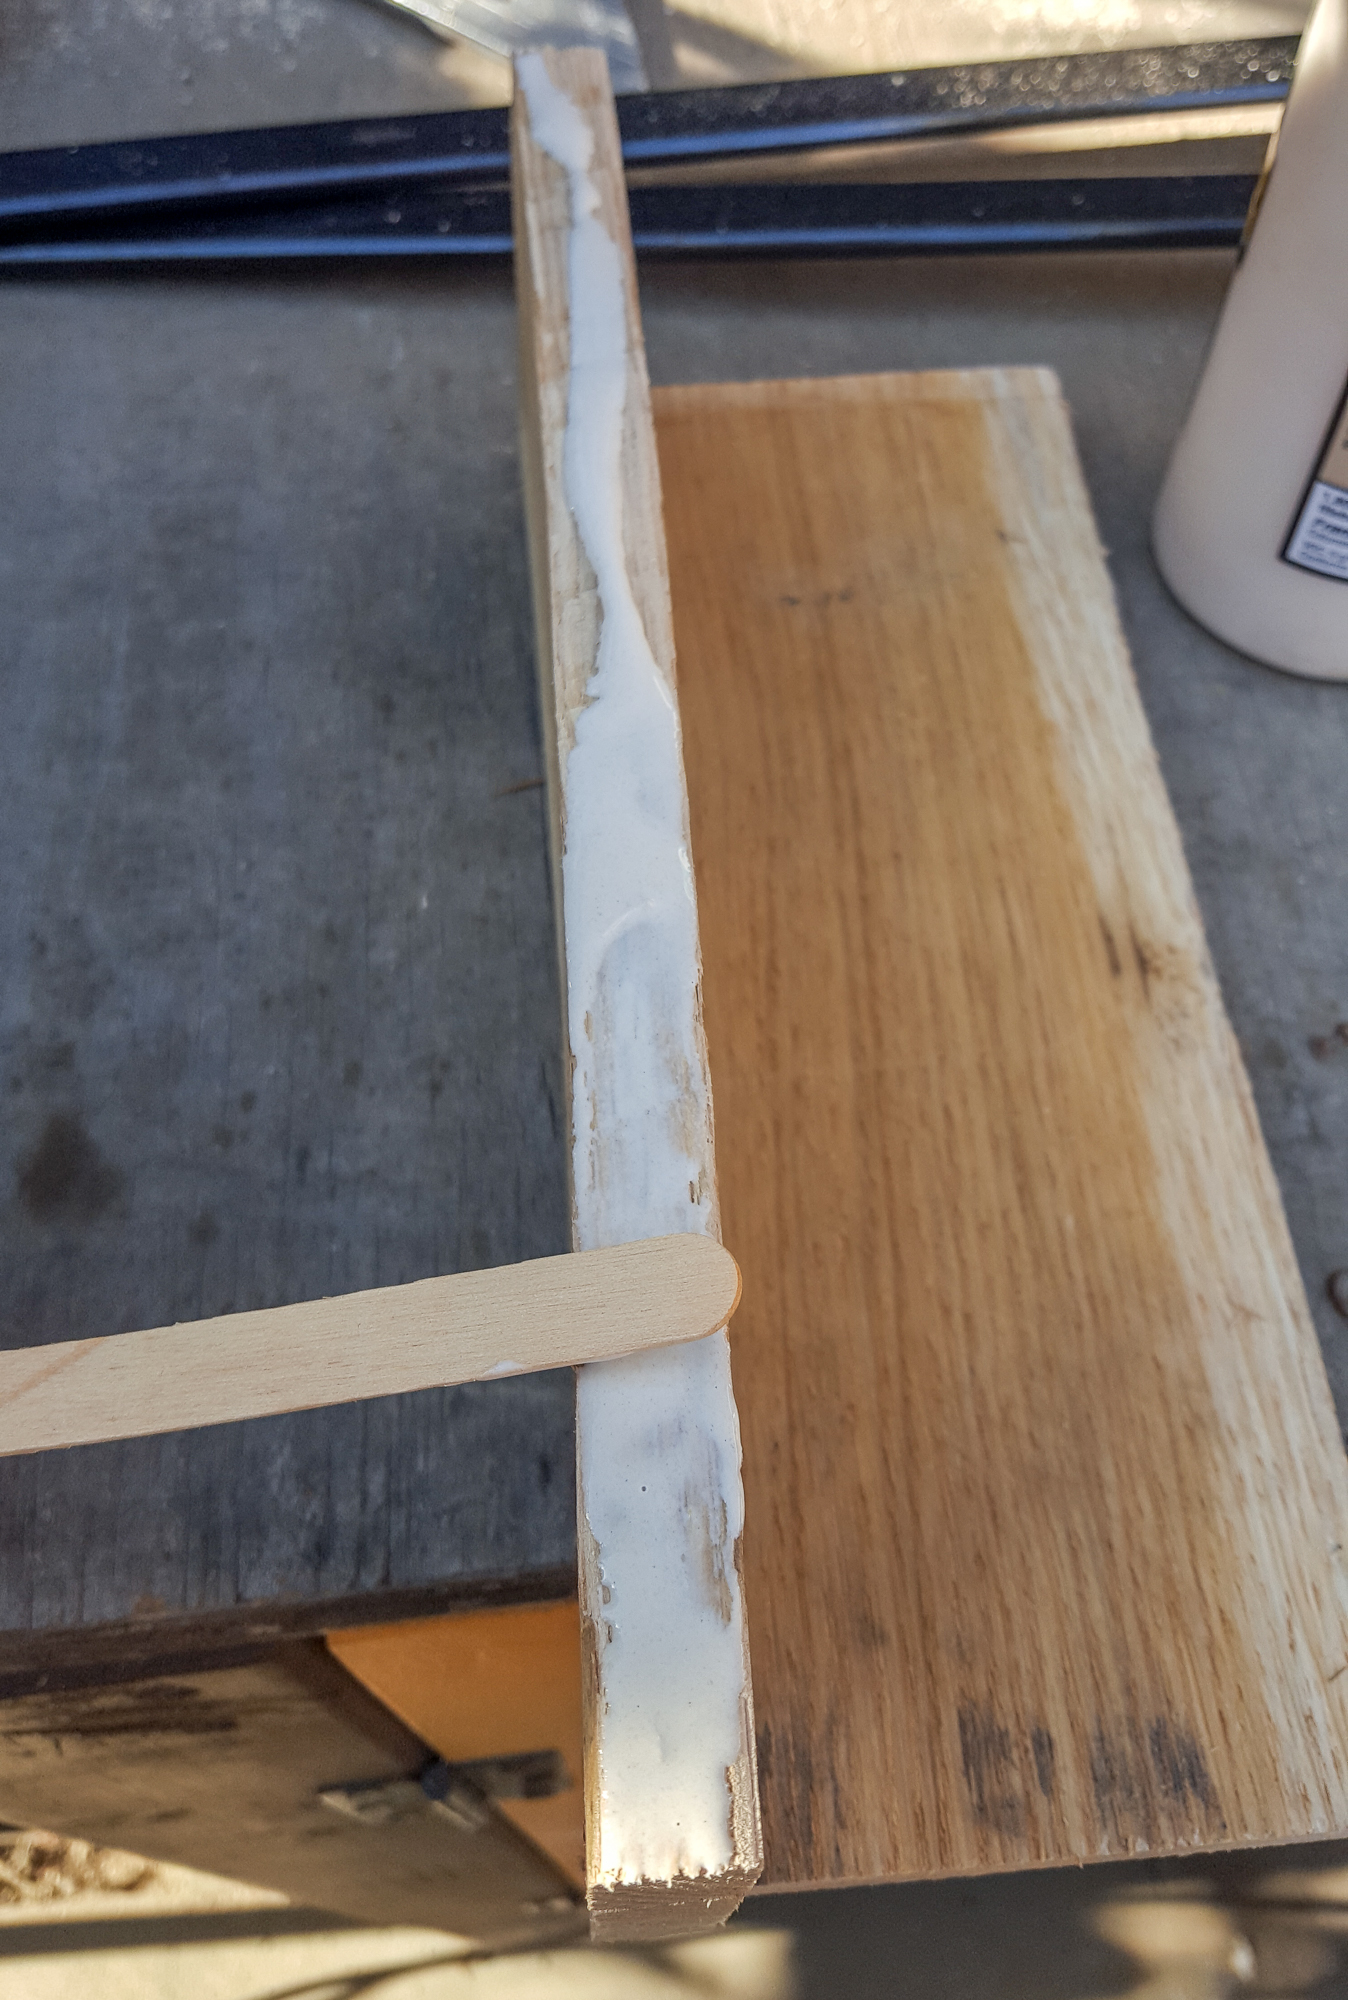
Step 5Spread the glue evenly on one edge. I like to use a popsicle stick, but you can use your finger as well. (Only put glue on one of the pieces; otherwise, there is too much glue). |
|
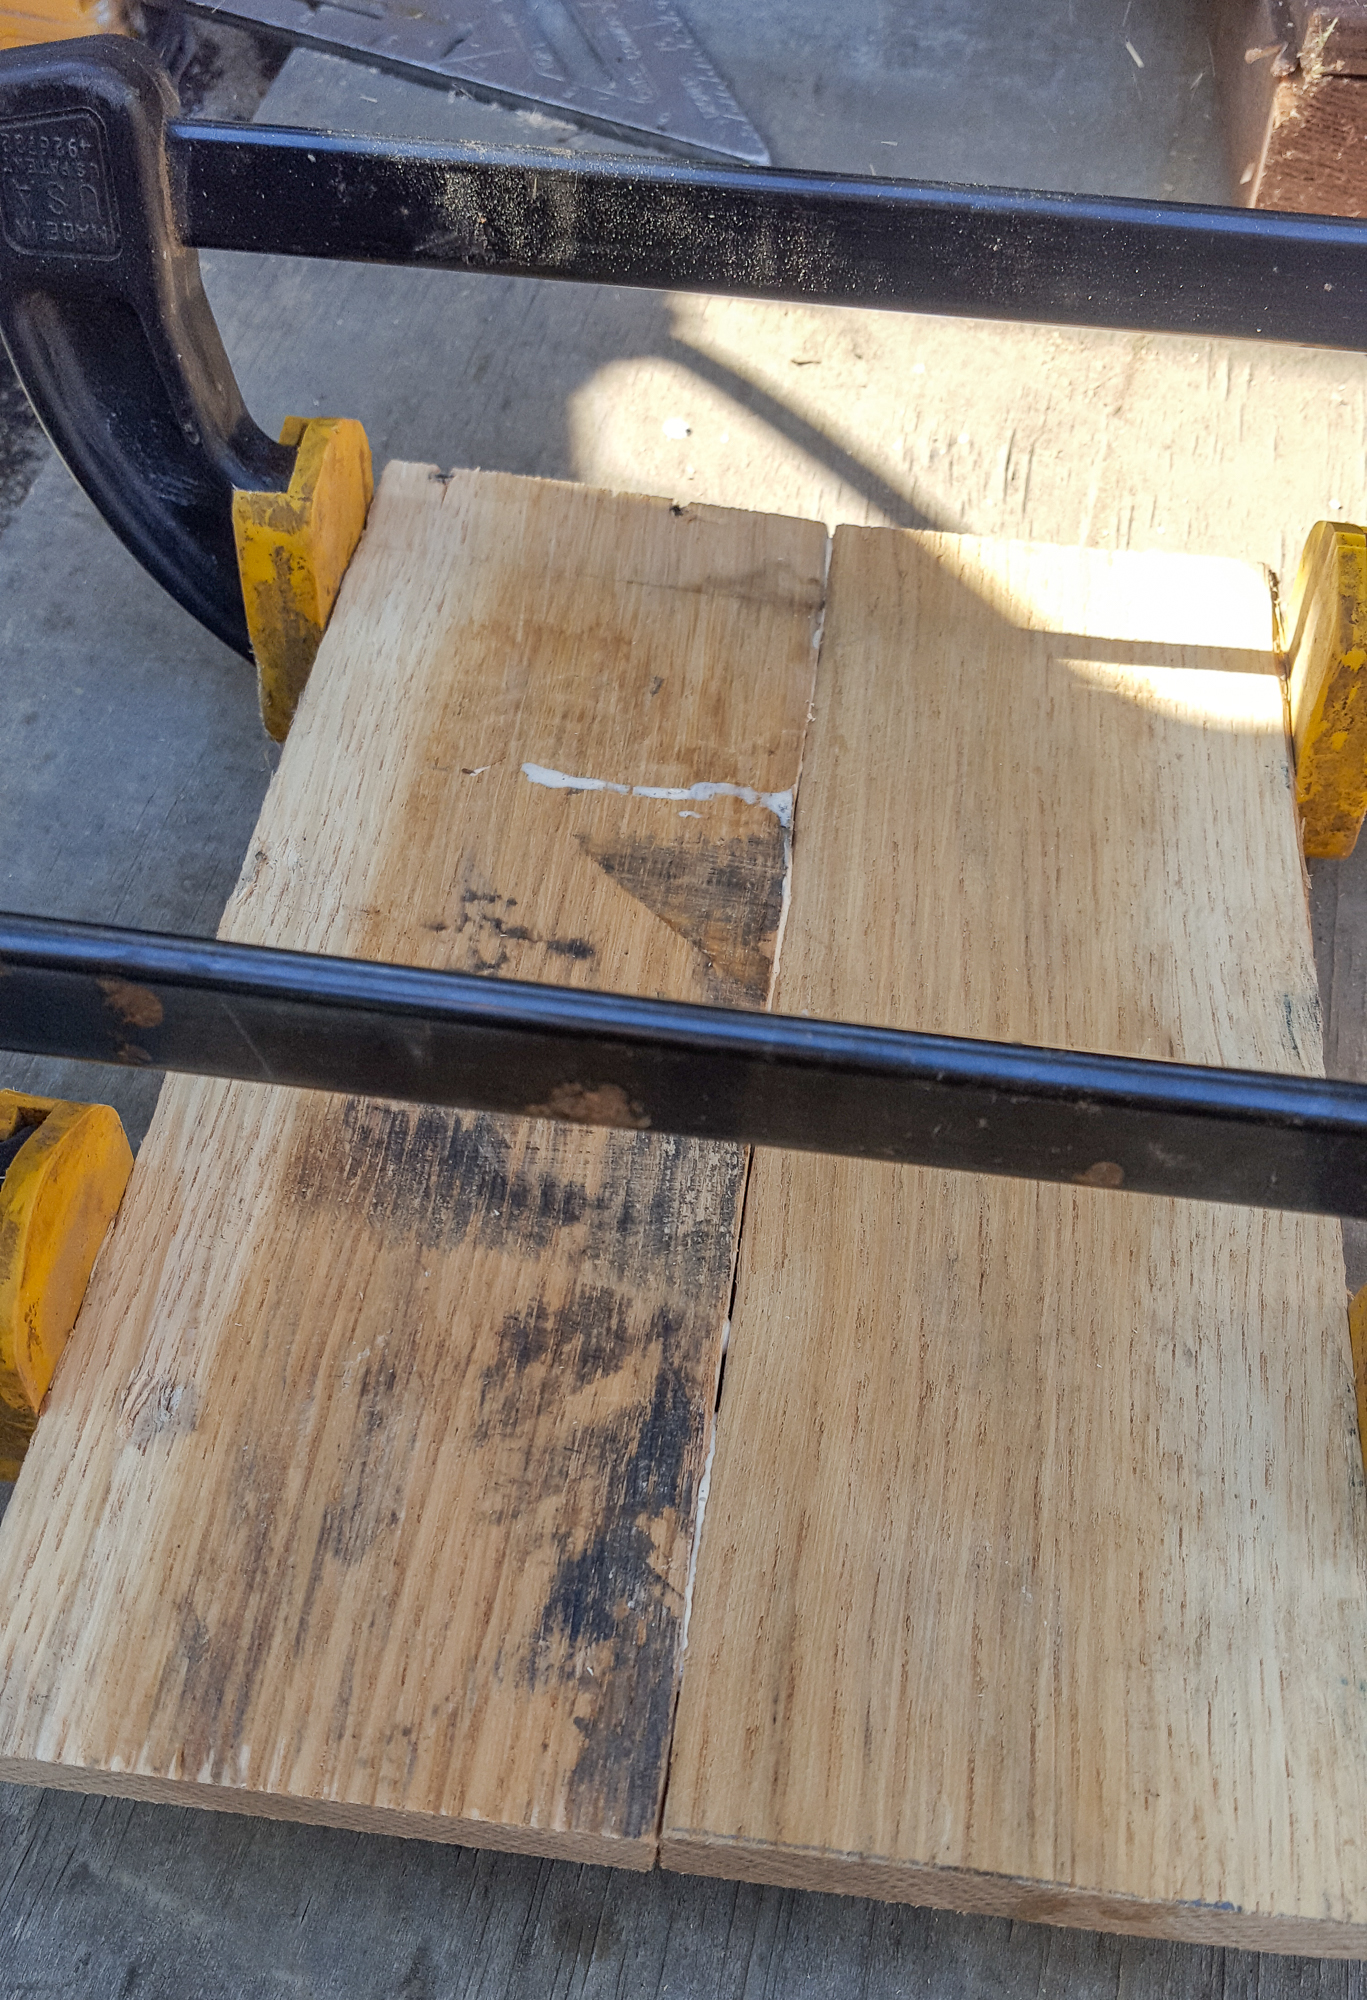
Step 6After you spread the glue, place the two pieces together and clamp them. (If needed, after you clamp, wipe off any runaway glue spills.) |
|
Step 7Let the glue dry. Mine needs to sit for about 10-15 min. But read the label on yours to see how long it needs to set. | |
Step 8Now that the glue is dry, you can remove the clamps. | |
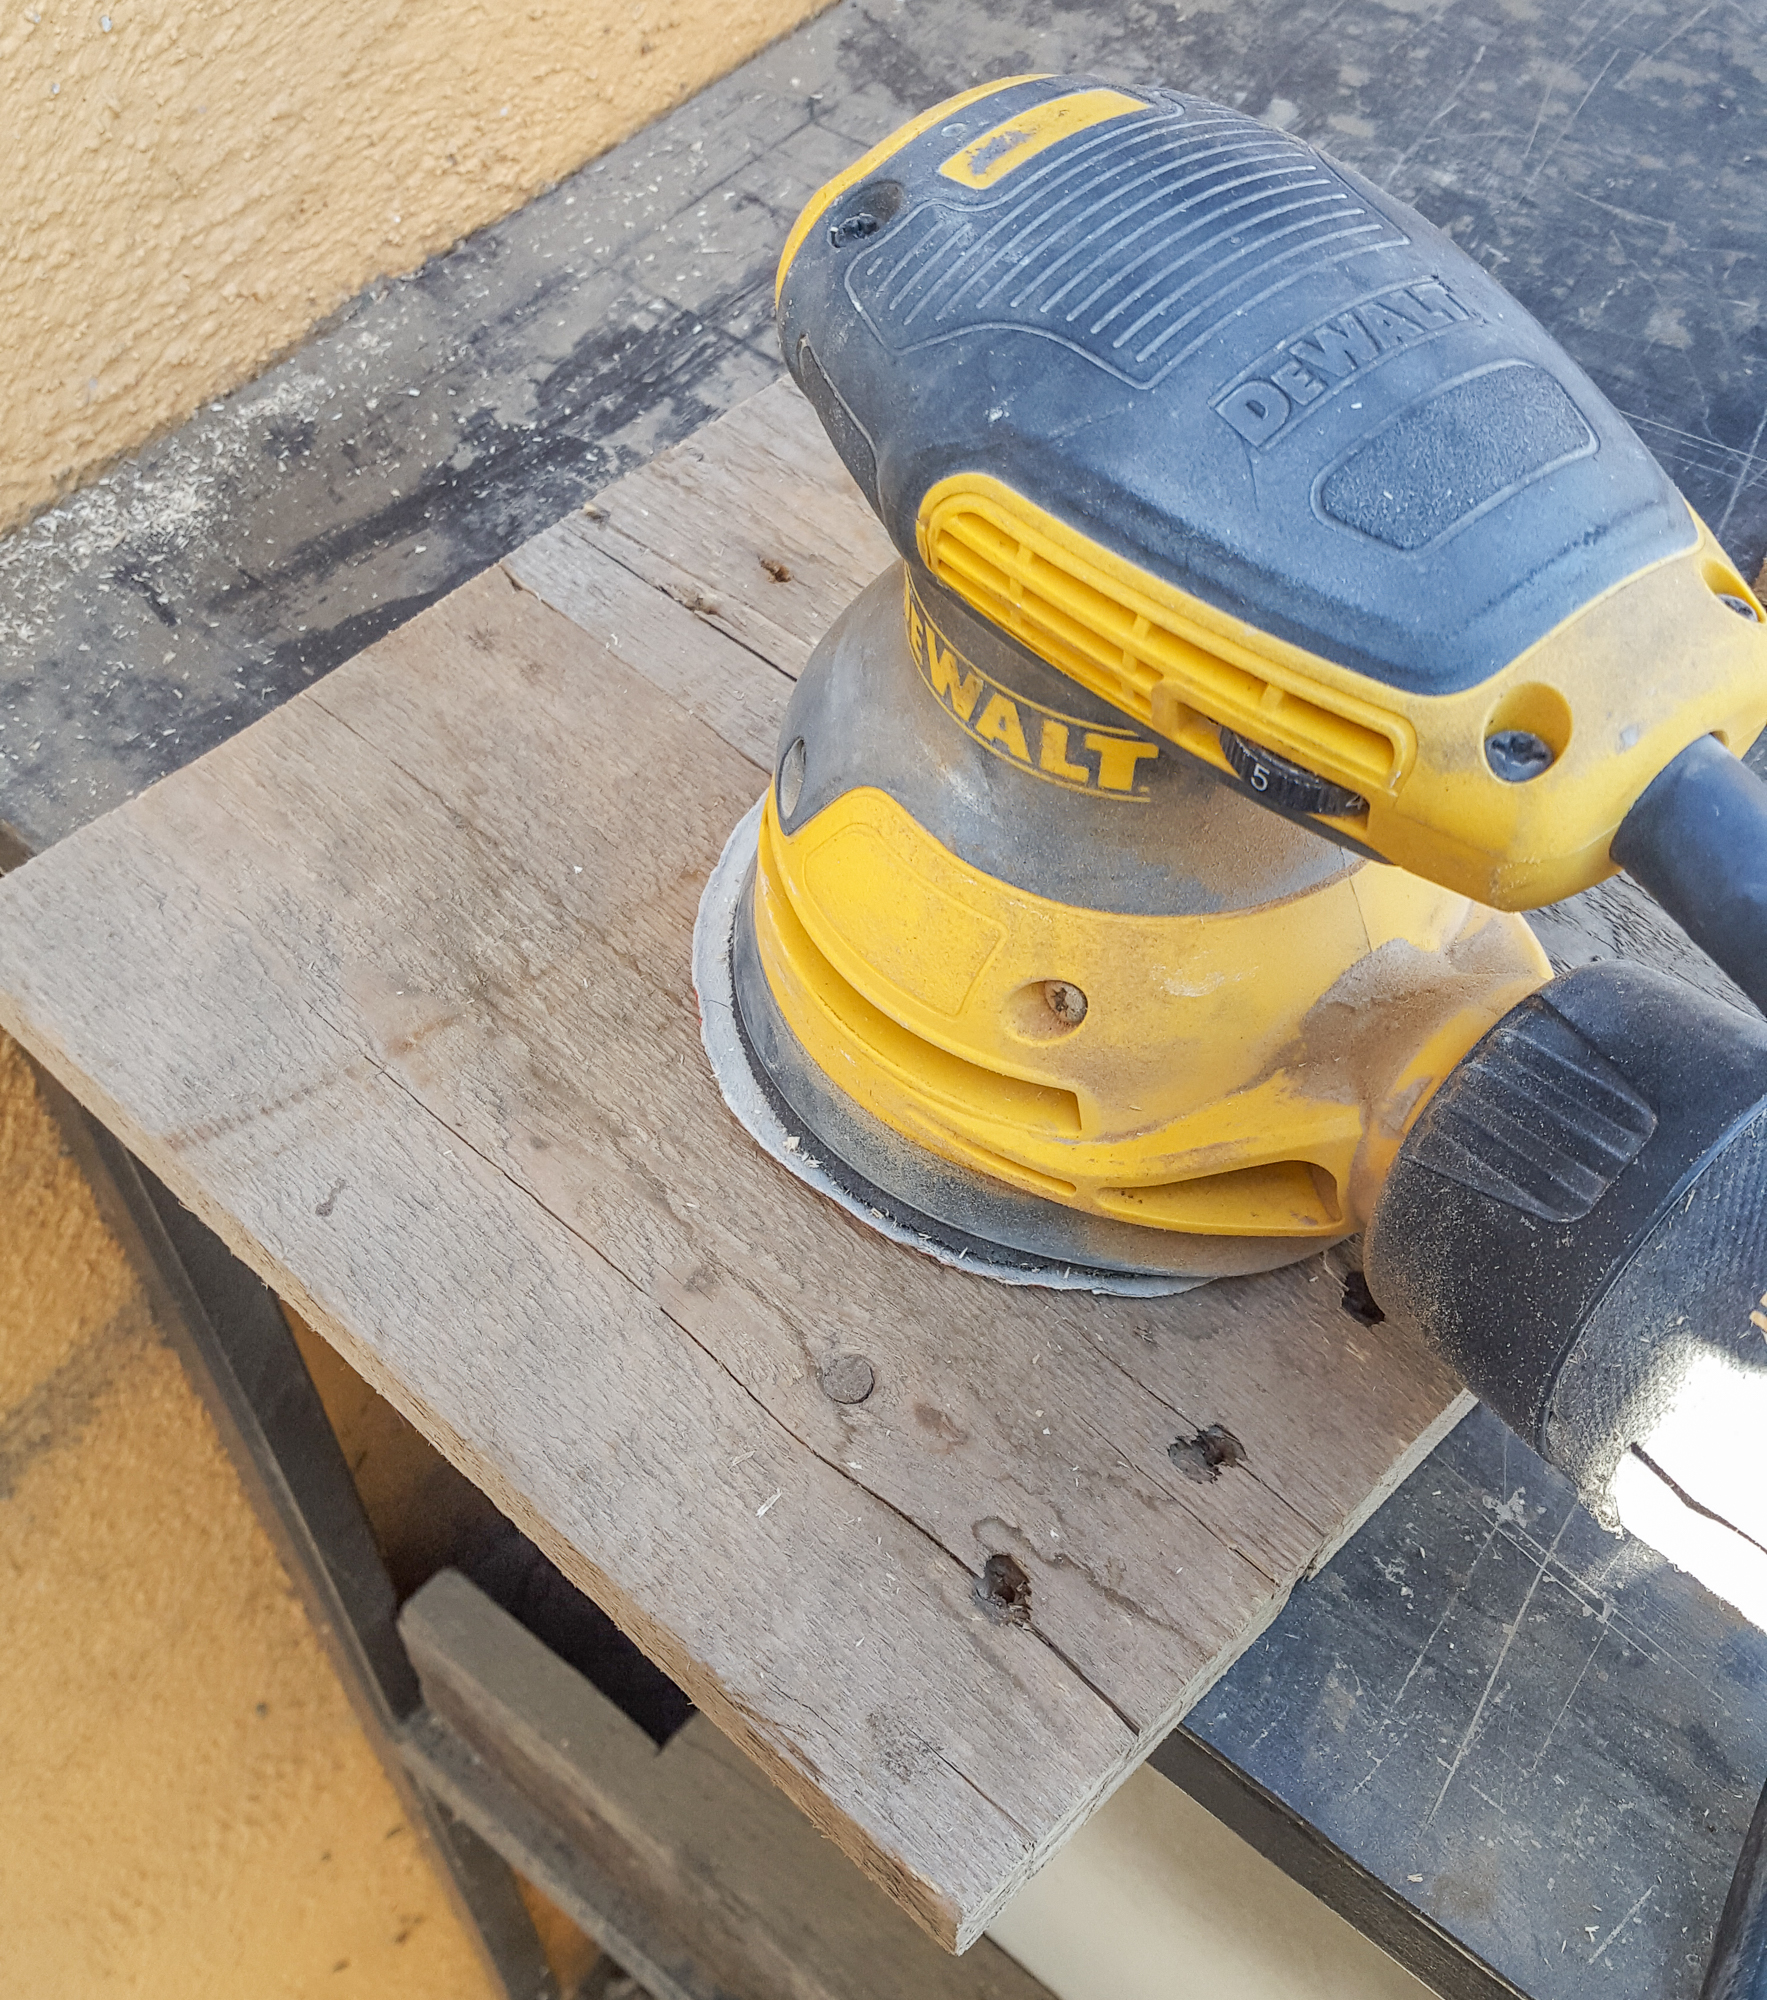
Step 9It’s sanding time! Grab a rougher sandpaper, like 80 grit, and sand down the entire piece thoroughly, making sure to get the rough edges smoothed out. I know you might think, “how many more steps are there!?” Well, hang in there with me, we are almost done! |
|
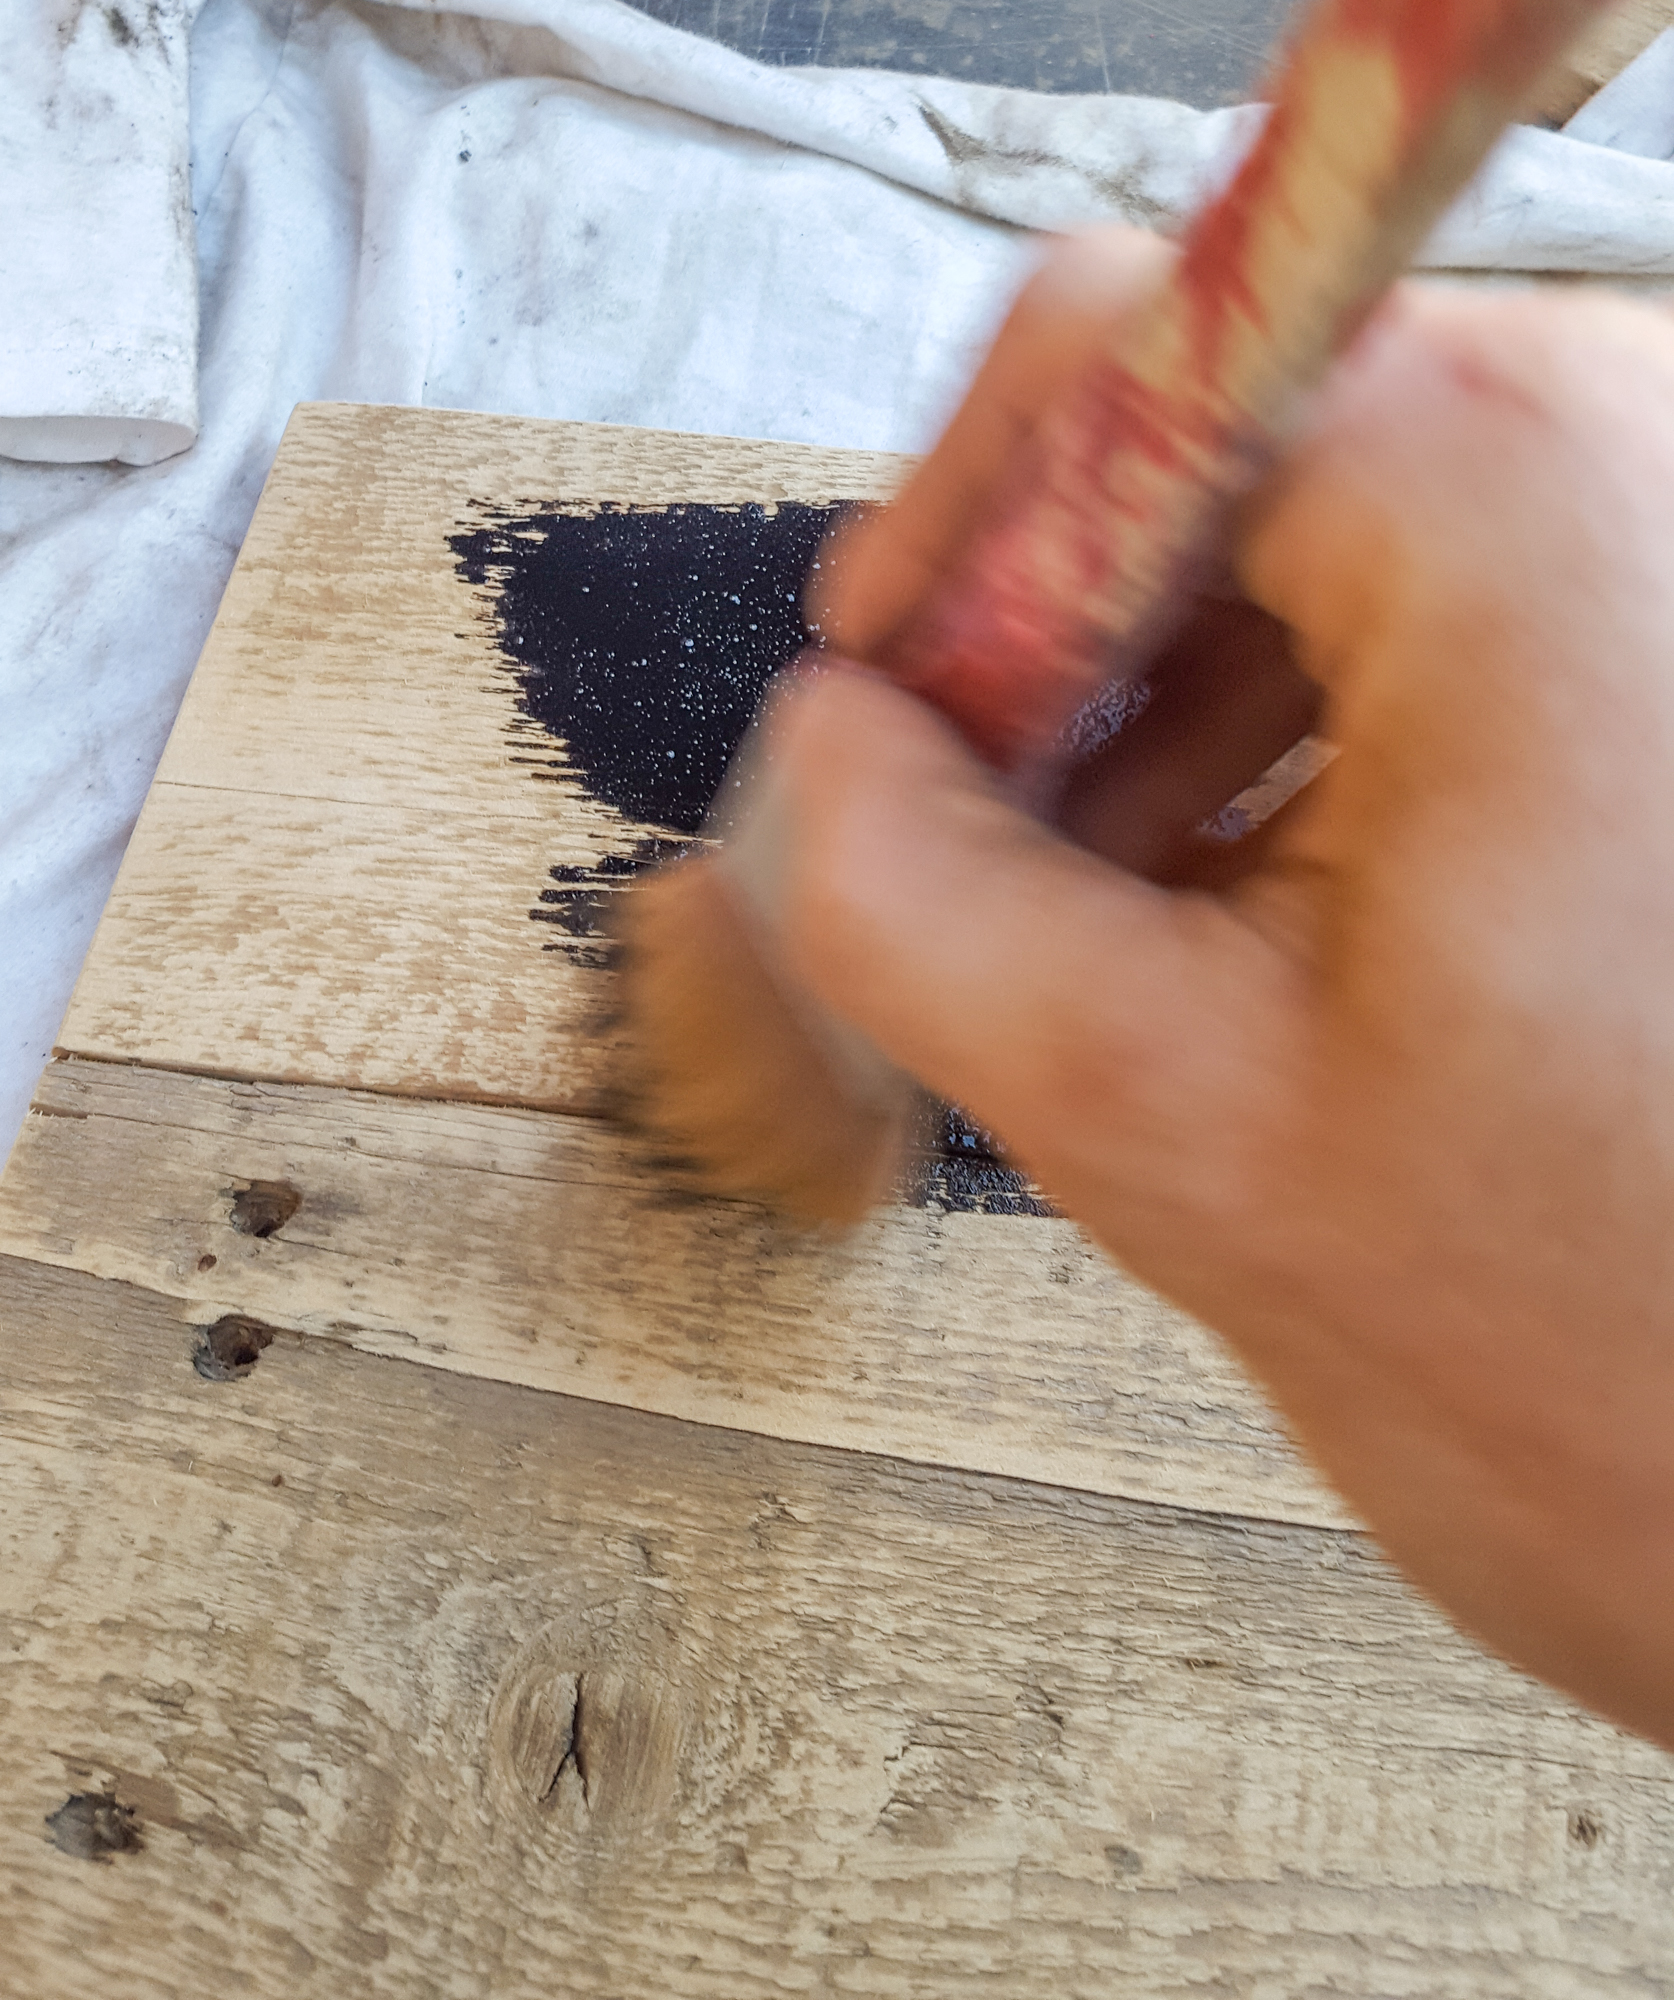
Step 10Now it’s time to stain. After you have cleaned off any excess dust from your surface, get your stain and brush ready. You can use any color stain you would like, although I would suggest a darker color (you will see why at the end). I used the stain color ‘Ash’. |
|
Step 11Once your stain has been stirred thoroughly, you can apply the stain; making sure the surface is covered well. Let the stain sit for about 2-3 min. Then come back with a clean rag and wipe off any excess stain. |
|
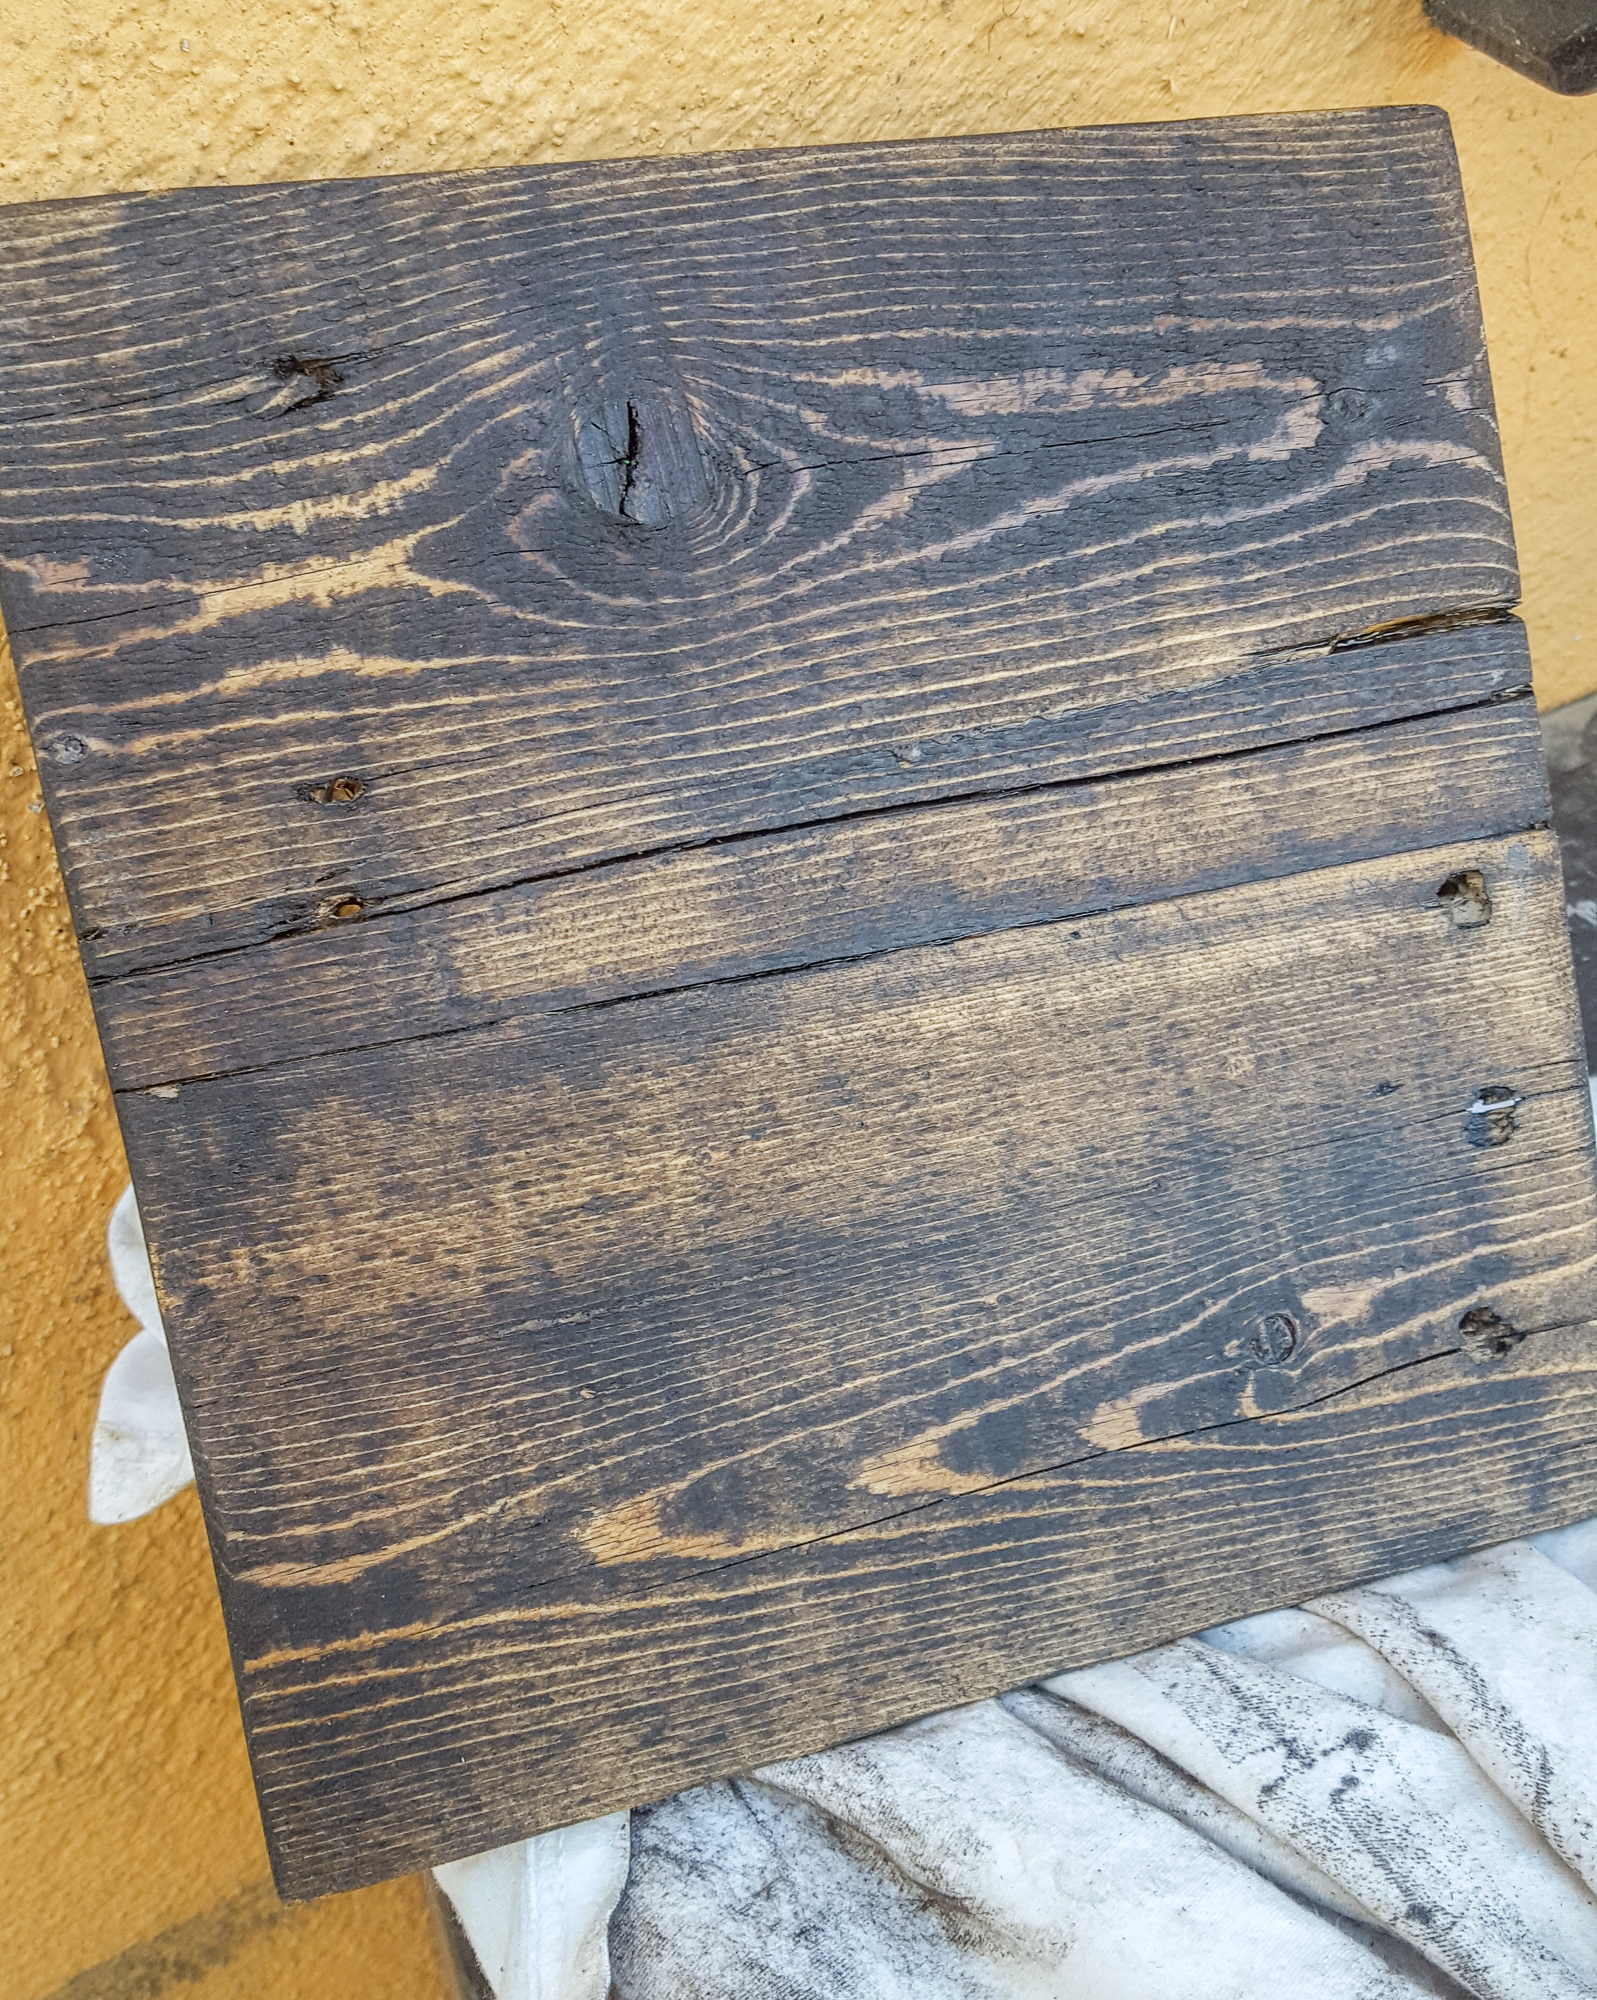
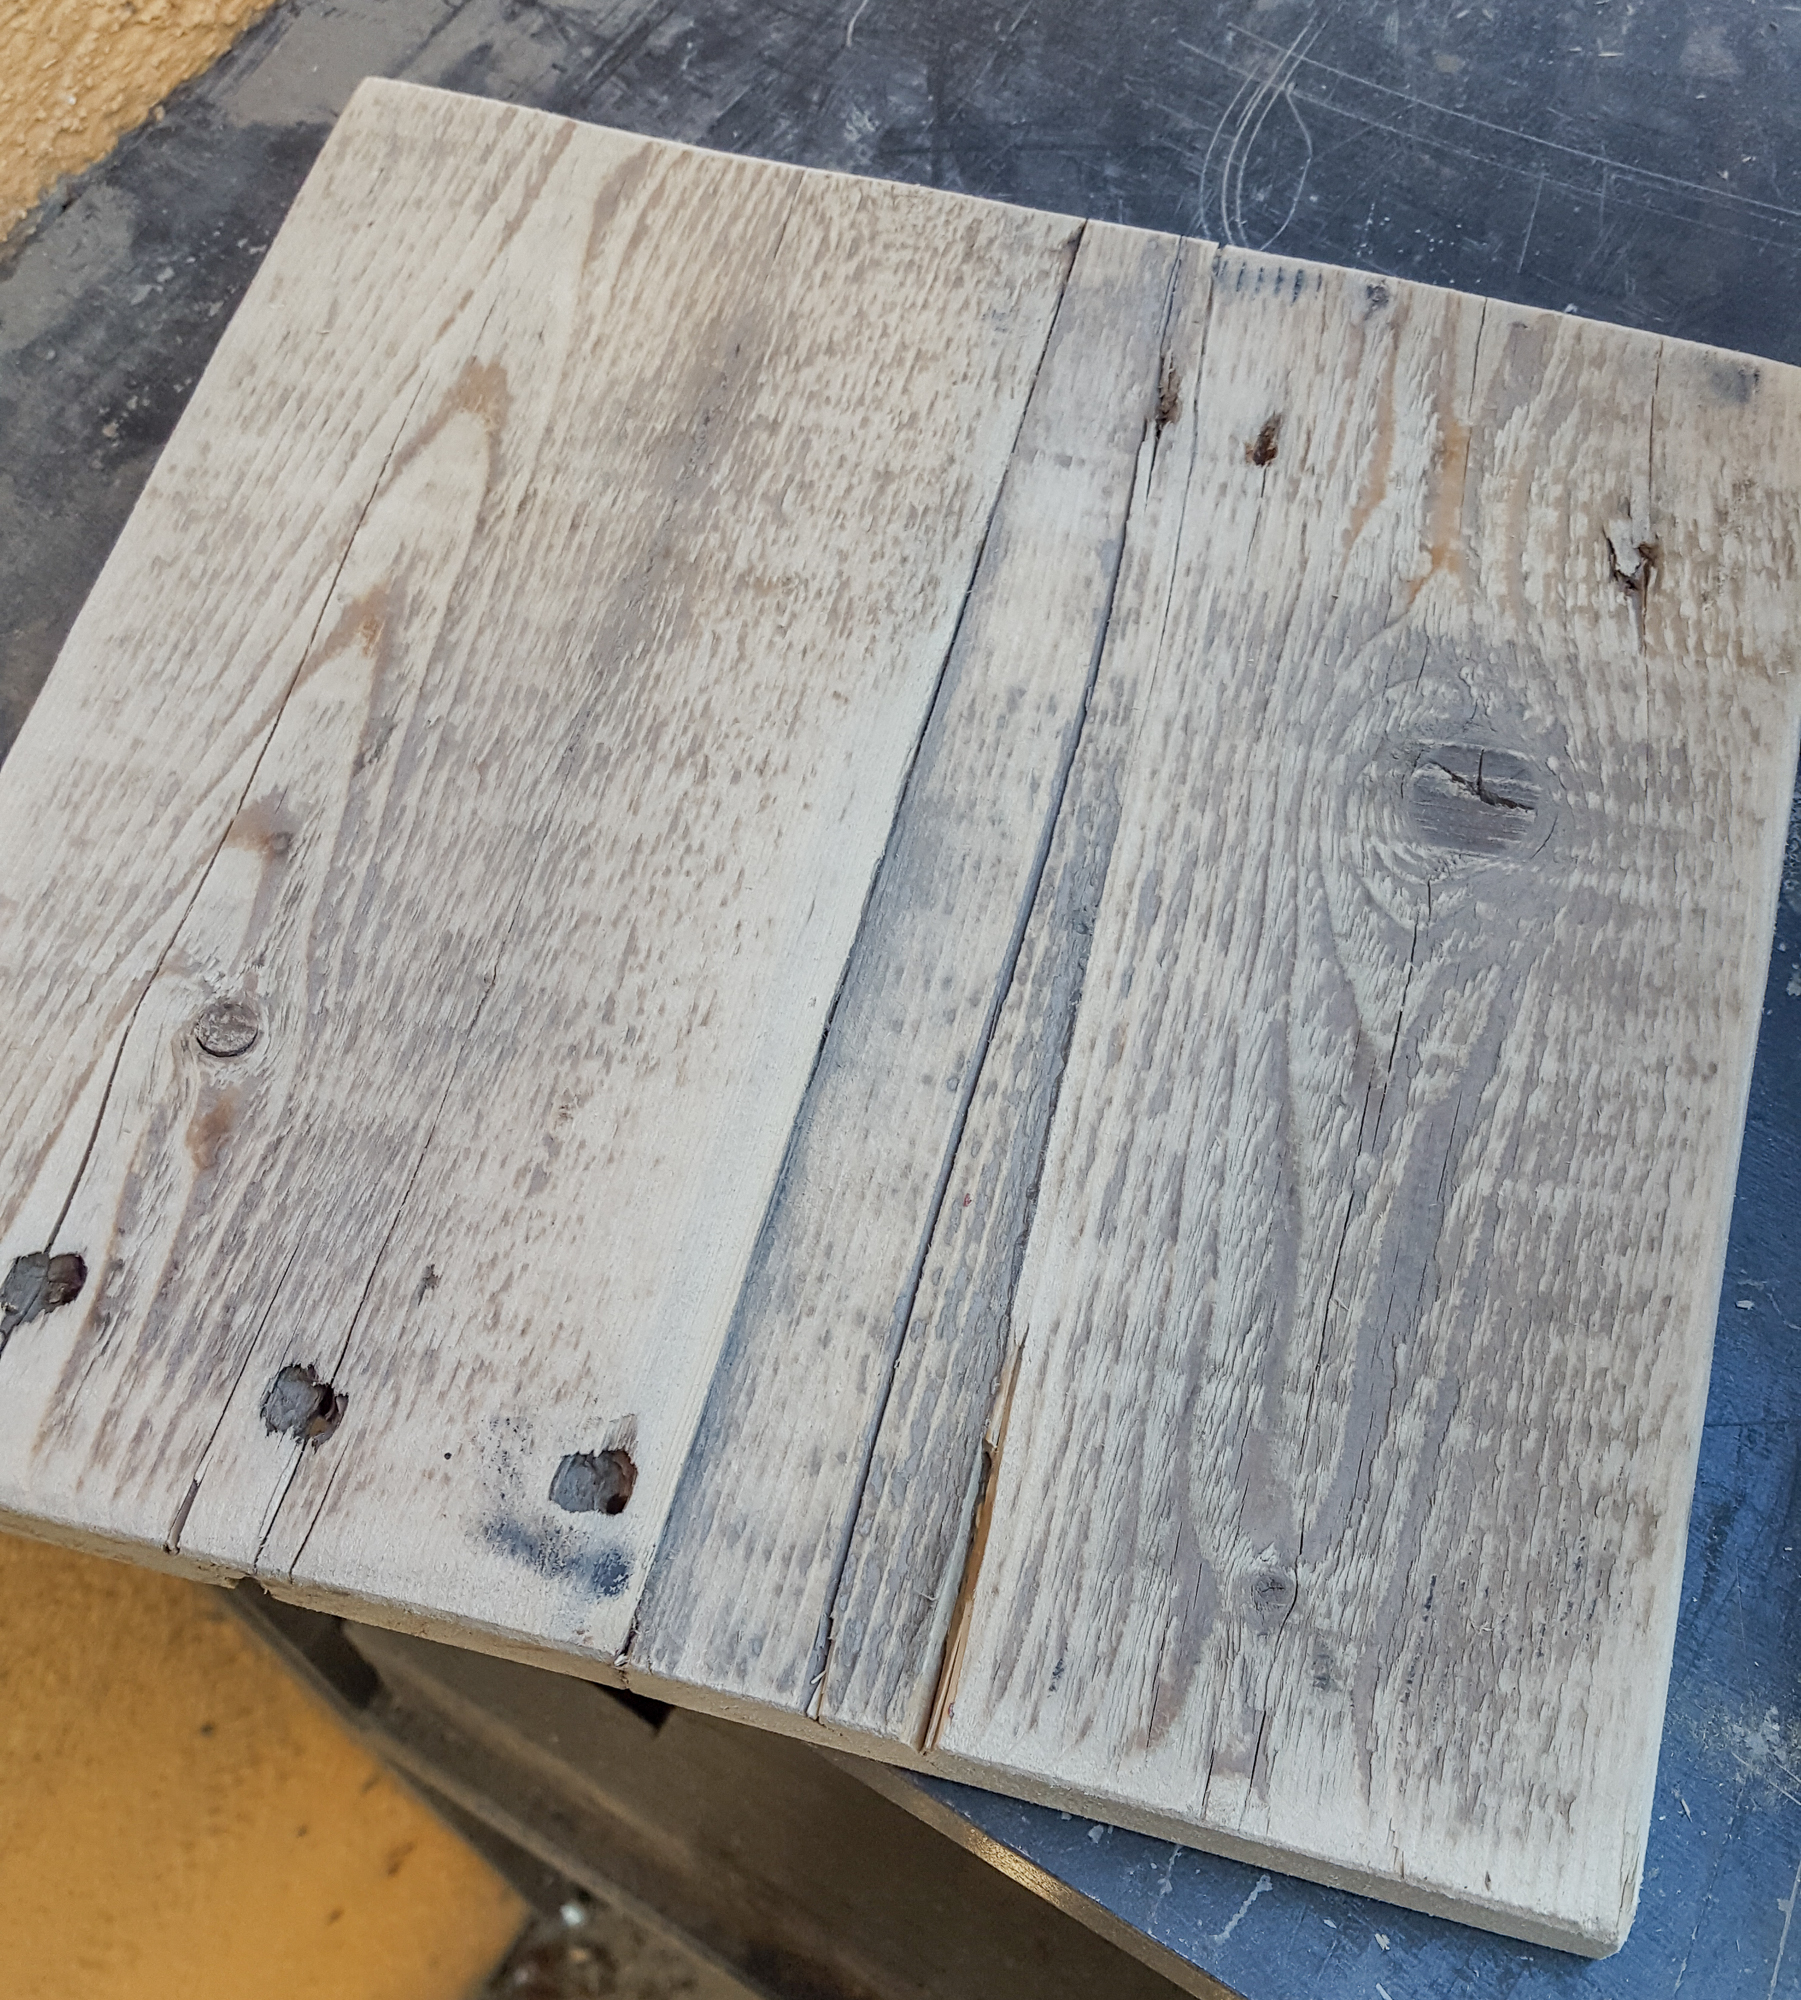
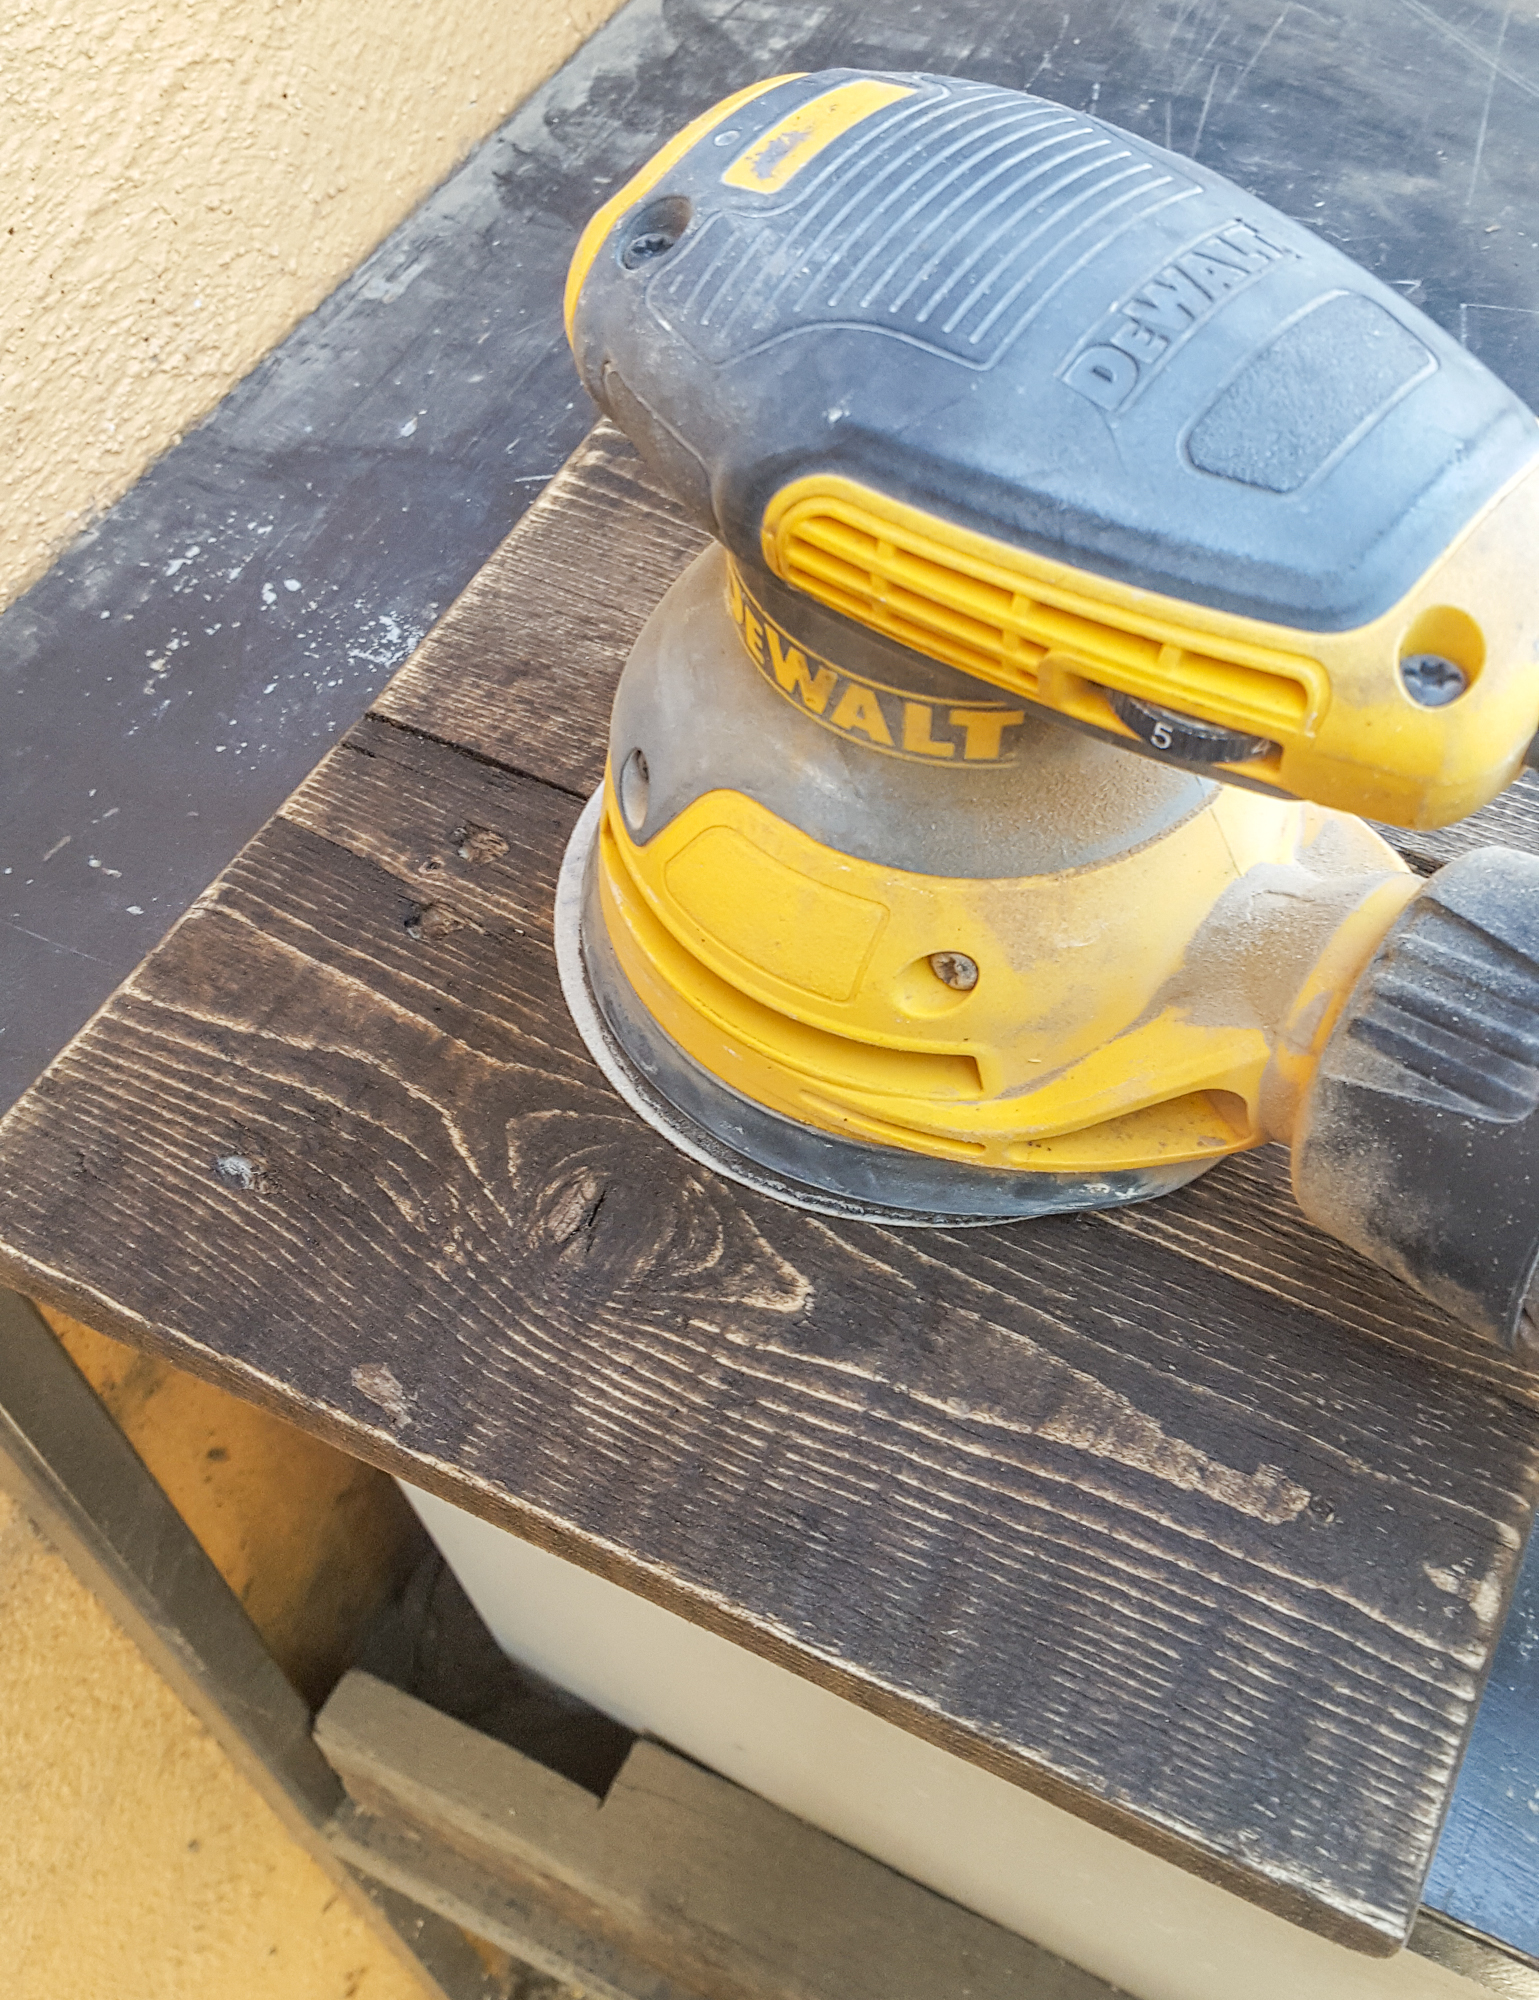
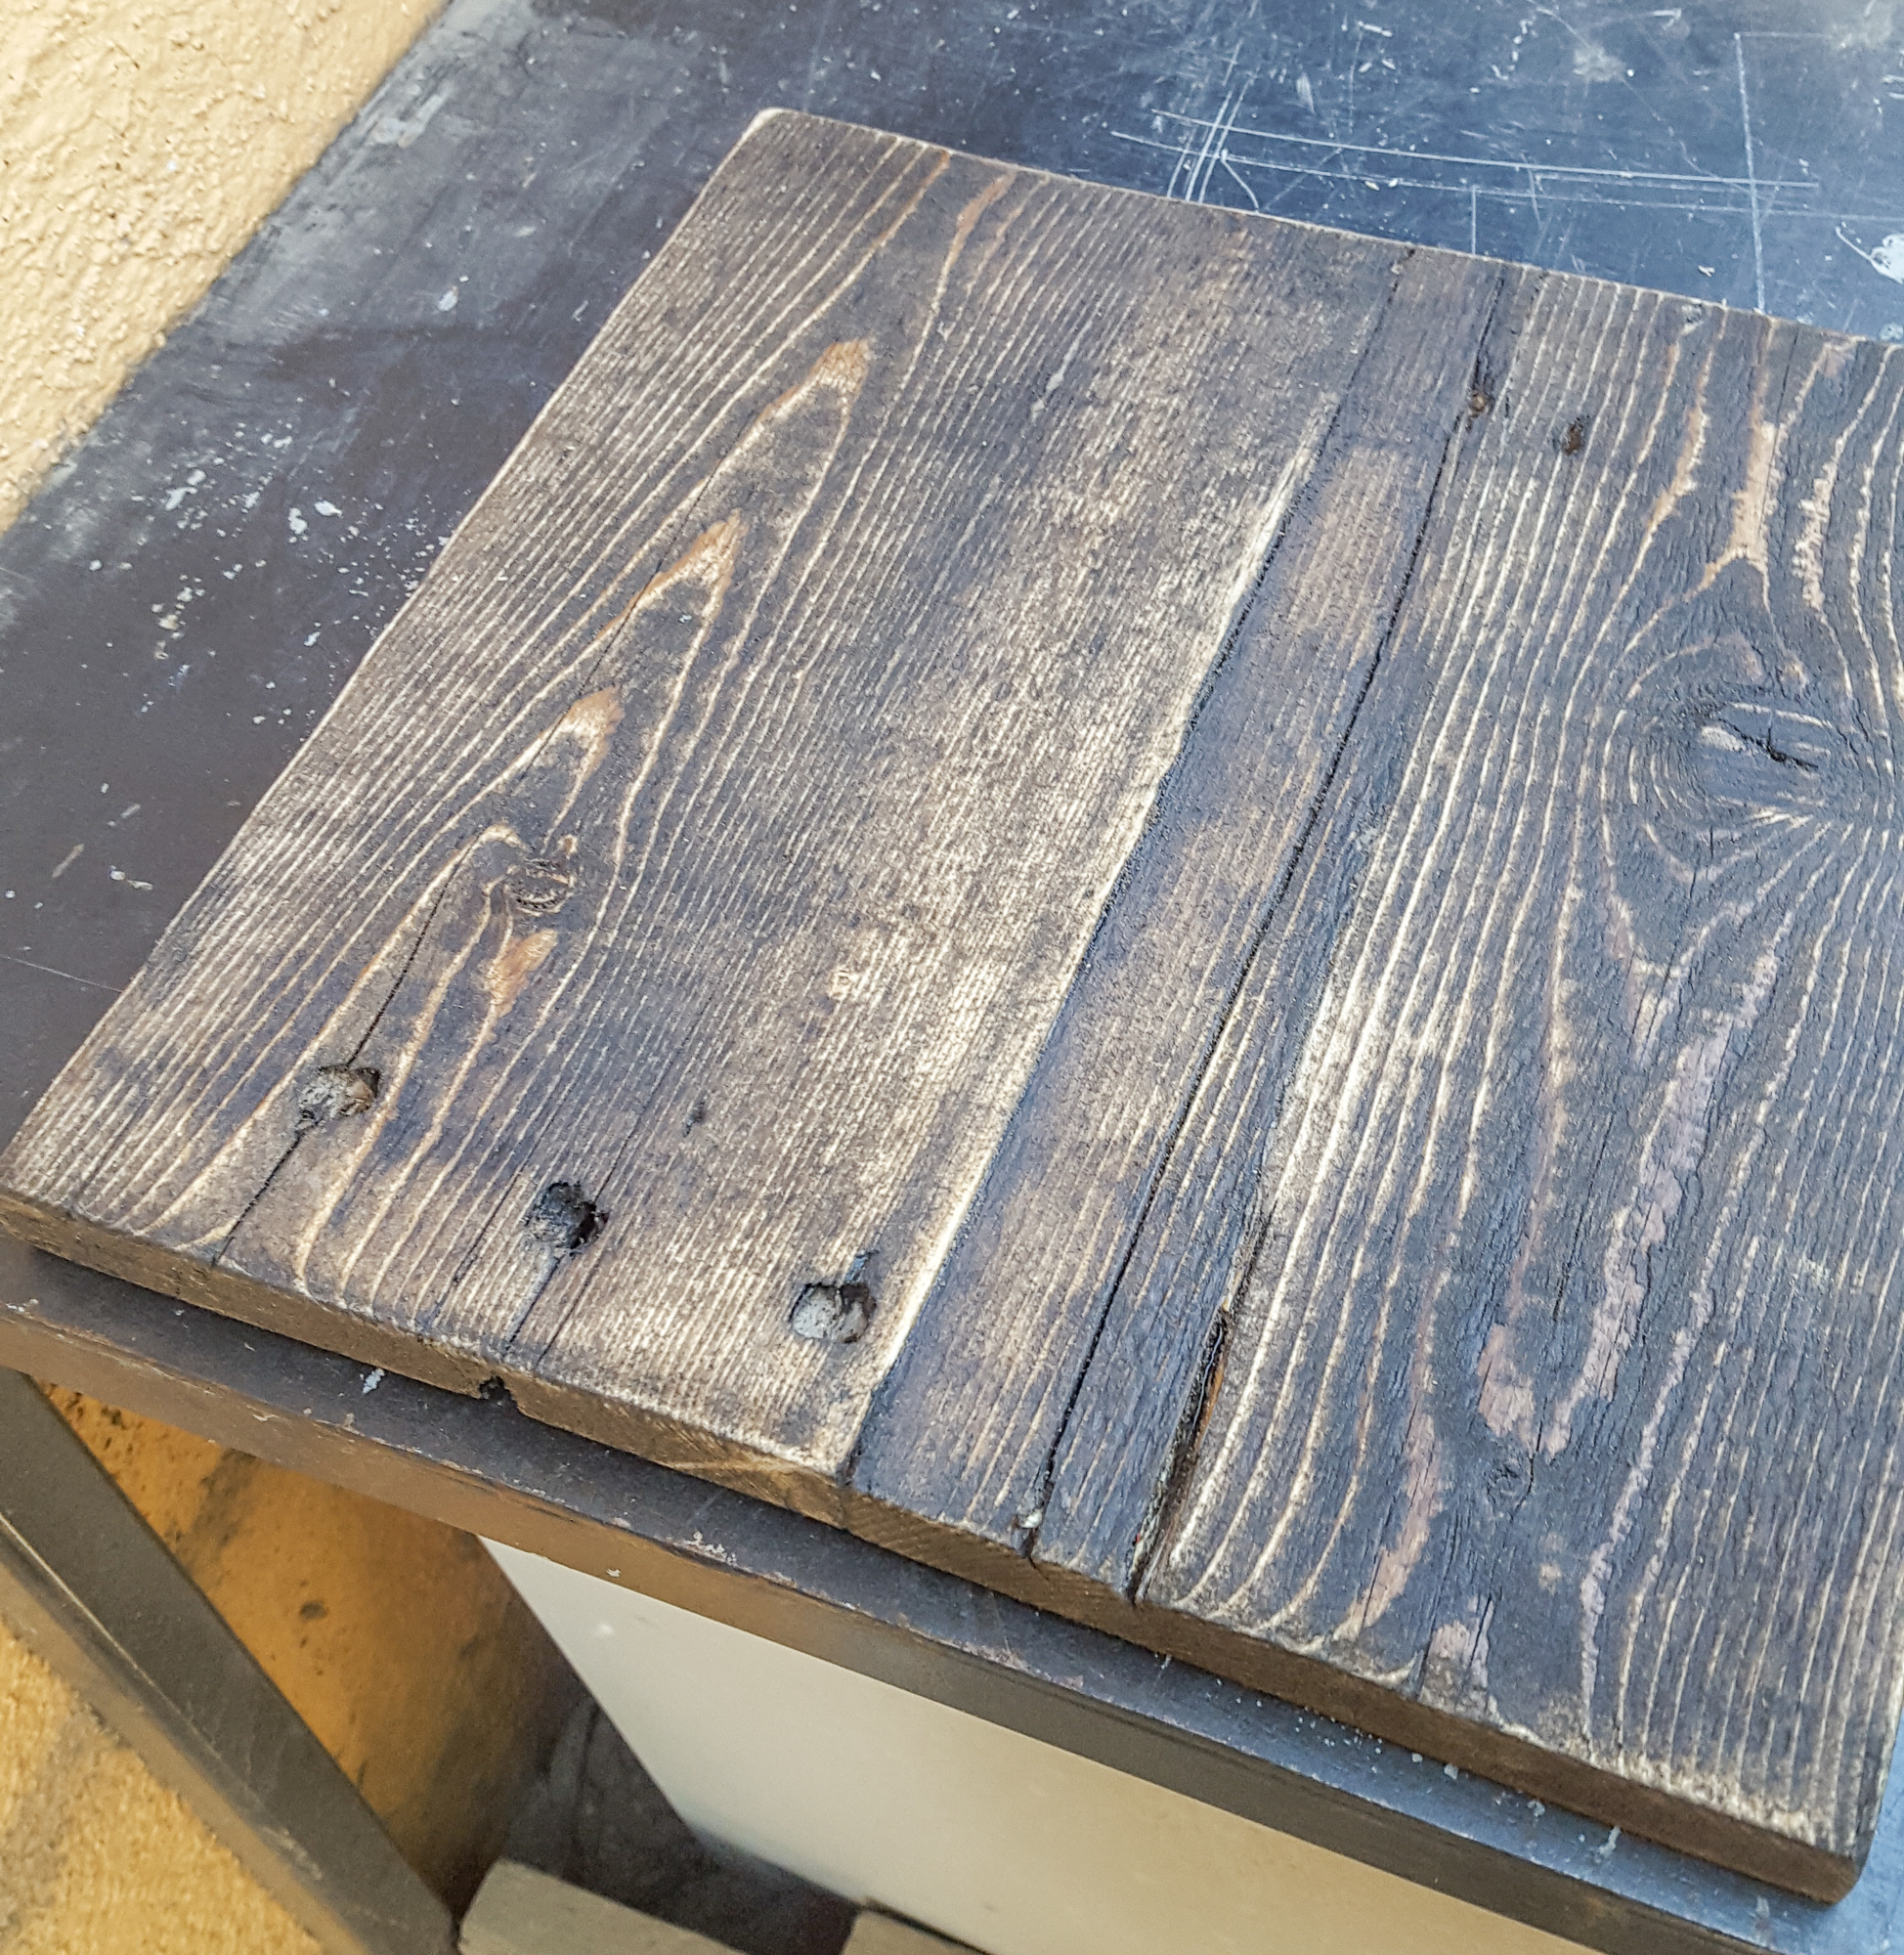
Step 12Last step right here guys!! It already looks decent now that you have stained and cleaned off your surface. If you prefer, you can leave it as is. Personally, I like the roughed up look, so I used a 200 or 220 grit sandpaper to do a final sand. This will help to pop out the grain of the wood more and give it that distinctive look. |
|
Here is my final result!
I hope you all have enjoyed this step by step guide. If you have any further questions, I’d be more than happy to help and answer where I can.
Show Us What You’ve Made
We would love to see what you came up with. Send us a picture and you just may be featured on our Instagram page. Be sure to follow us (@FGGDesigns) so you can see if you made it!