
I have often wondered, while seeing the available and ‘hot off the press’ greeting cards at the local store, “why overcharge for such a simple piece of paper?” Yes, it is quick and easy to get a card that is mass produced and readily available, but generally it is hard to find just the right color, specific theme, and/or particular saying that would be an encouragement or fitting gift for your special friend or family member. This is one way I get motivated to make cards that are personal, unique, artistic enough to frame, and… just different than the ones you find around the corner.
About 10 years ago, I started making greeting cards the way I do now. I have tried different techniques, but so far the embroidery stitched cards, combined with a 3D-paper picture, is what people appreciate most and they seem to be my best sellers.
A Blank Page
Customers have asked me how I get to my finished product. Well, let me take you through my workflow.
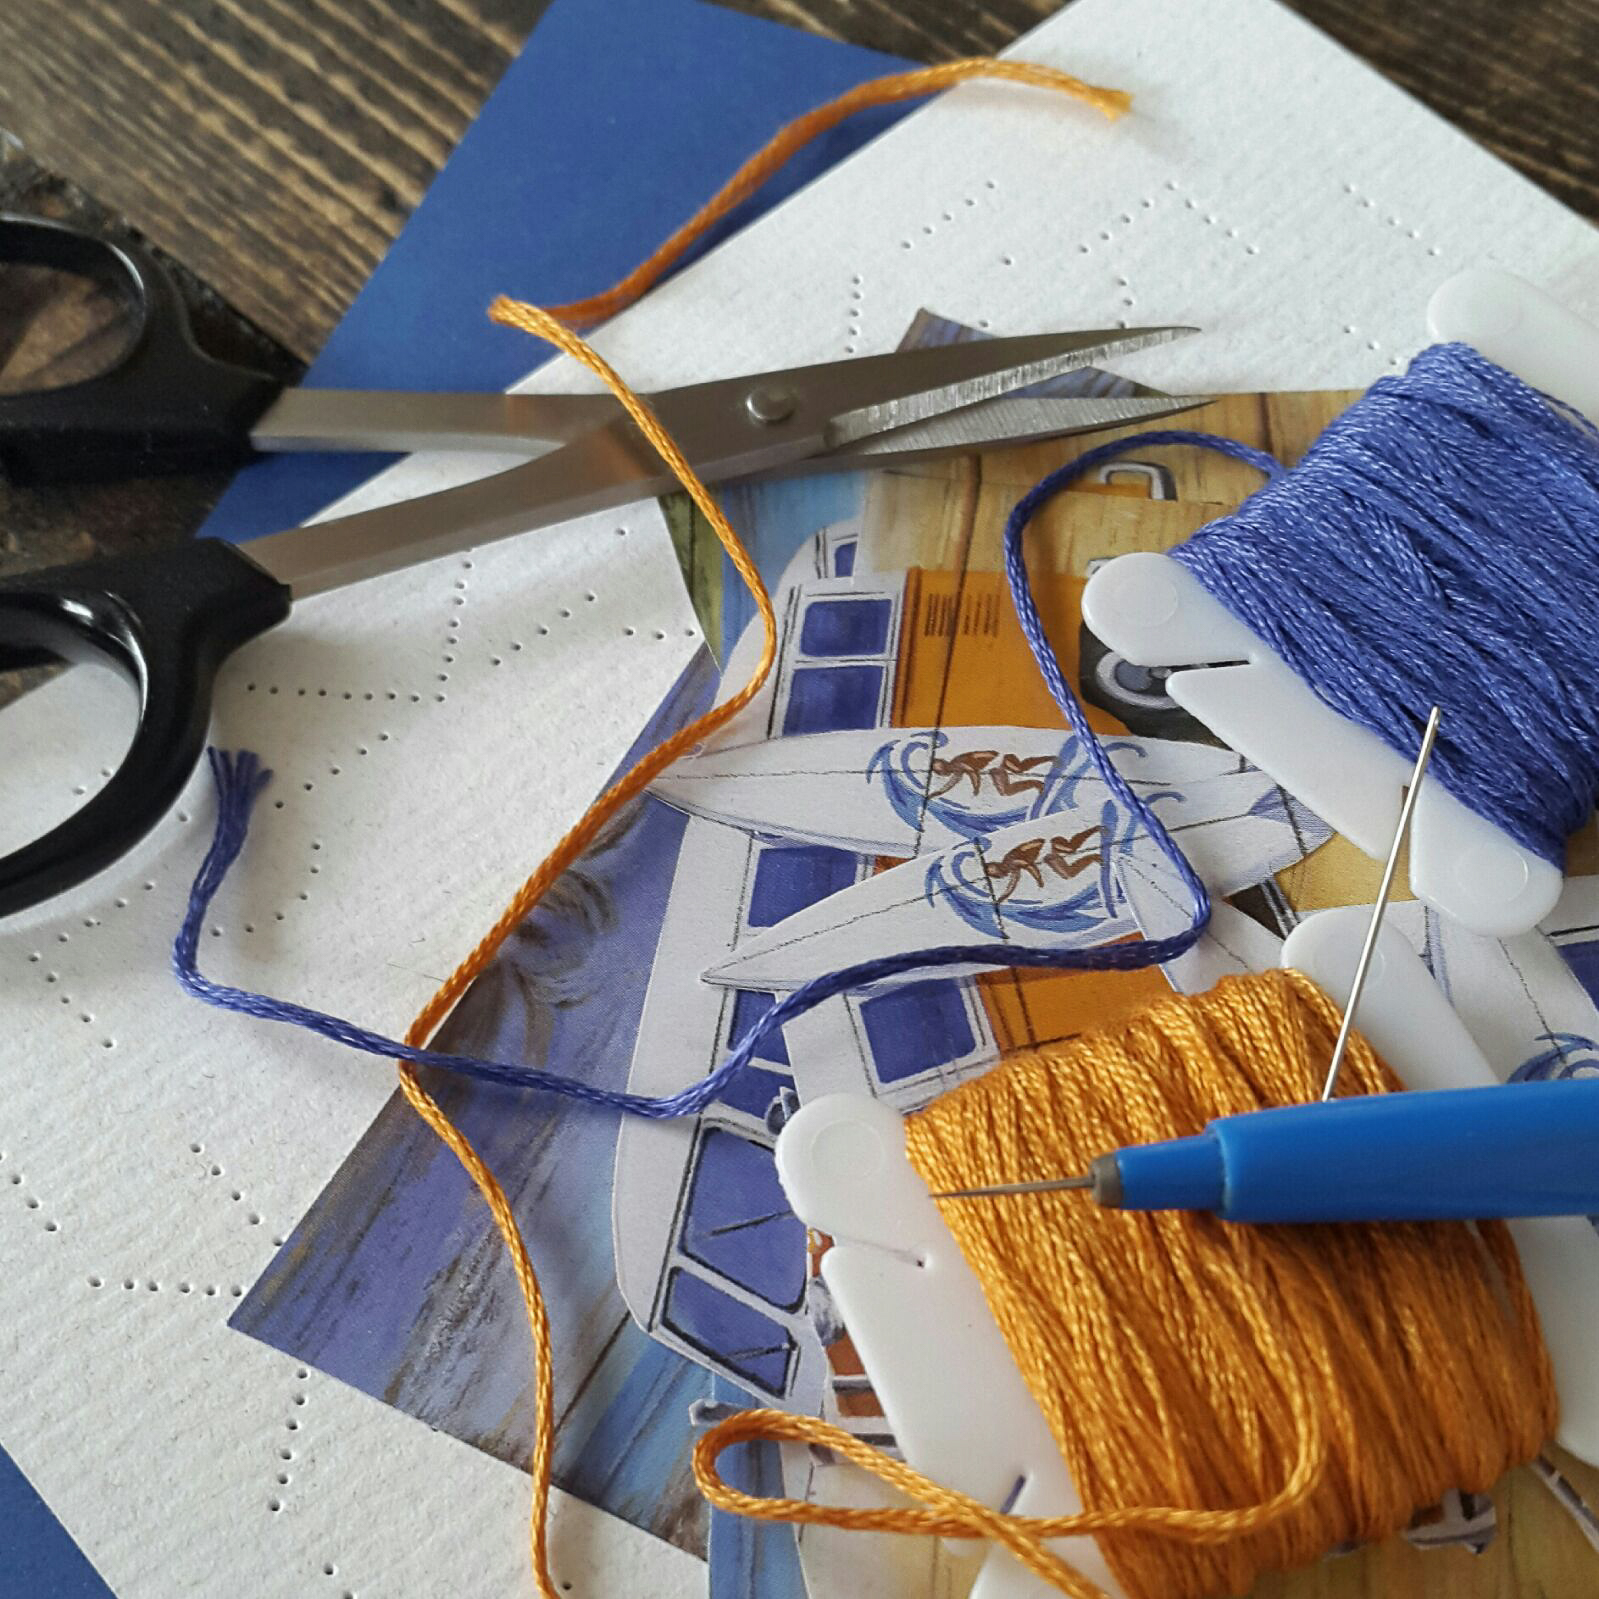
When receiving an order, I ask the customer if they have certain colors and/or theme in mind. Once that’s been established, I look through my files of 3D-paper images to find a match for the customer’s request. When I am happy with my choice, I spend my time (sometimes hours) finding a stitching pattern that matches the feel of the image. I am quite picky when it comes to a pattern; it has to flow and fit with the 3D image as if it belongs together. After searching through some books or designing my own stitching pattern, I start looking for embroidery floss in colors that complement the 3D-paper image. Personally, I like to work with a minimum of 3 colors, it seems to look nicer that way.
The last thing I need to do, before I can really start working on the actual card, is transfer the stitching pattern onto the paper and meticulously cut out all the layers of the 3D image (all of which is done by hand).
…almost there
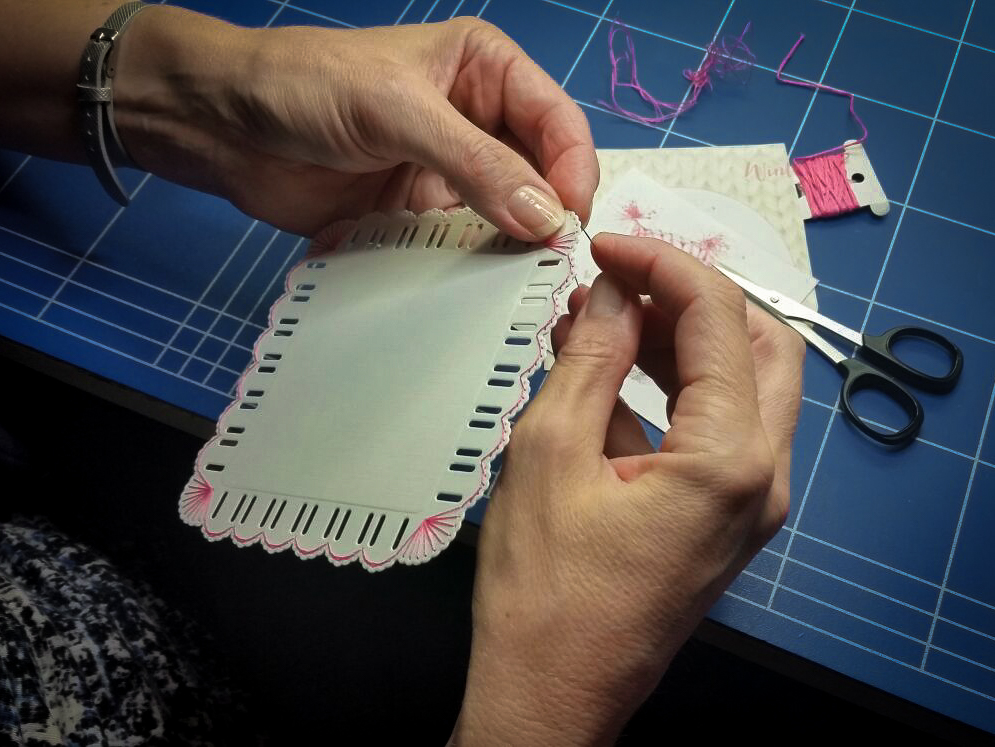
It is finally time to start stitching. This has to be my most favorite part of the process. I love watching it ‘grow’ and come together. Once the stitching has been done, I move on to the assembling of the card. The base of the card will match one of the colors used in the stitching/picture. The fully designed card is now ready to be enhanced; I add some embellishments and a paper insert with decorative, paper punched corners. To finish it off, I stamp the back of the card with a LyLuDesigns stamp.
Though the whole process for just one card could take up to 4 hours, the end result is definitely worth the time; and suffice to say, I really enjoy the entire progression.
Something Else
As you have read in my previous blog, I not only make cards, I also love to crochet. I have made different dish cloths, lavender fragrance pockets, laundry bags with felted wool dryer balls, and baby bear blankets just to name a few. Pinterest, or one of my favorite websites, tends to be my go to place for new ideas. When something triggers my interest, I start brainstorming on how I can make it myself, different from the original pattern, but in such a way that it will be unique yet attractive, with a personal touch.